Showing posts with label costumes. Show all posts

Thursday, October 27, 2011

funky witch costume

I made another witch costume, but this time it's a little more fun, and less traditional.  It's for a little girl in our neighborhood, who is the same size as Rora (we'll call her Little Miss.)
(modelled by Rora)


I still used the corset-style belt from Simplicity 4139, but this time I made it a little smaller than recommended so that the lacings would be more obvious and Little Miss' mom chose green ribbon for the same reason:


The tutu is a no-sew tutu, except I didn't like the idea of the waistband being stapled, so I sewed it.  I guess it's more of a "minimal sewing" tutu.  (If you don't know how to make one of these, just Google "no sew tutu" and you should end up with plenty of options.)


The cape is simple.  It's 36" wide, and the length that I wanted.  Then I gathered it into a length of extra-wide double-fold bias tape (make sure to cut it long enough to tie on either side of the gathering.)


And the true test of whether a costume/outfit/dress is a success: does it make her want to smile and twirl?


The hat Rora is wearing is the same hat from last year's witch costume.  Little Miss already has a hat, so there was no need to make her one.

Wednesday, September 28, 2011

tutu (butterick 5545)

Today I got the opportunity to accompany my little niece to her parent/child dance class, since my brother-in-law was unable to take her.  What a fun time we had!  E and Rora were born 6 days apart, and have been good little friends all their lives, so it was super fun to get to do this dance class with them!  (Since E is not mine, I've decided not to post pictures of her here, but you'll have to trust me that the two of them together were simply adorable.)

While at dance class, it occurred to me that I made Rora's tutu more than a year ago, but hadn't posted it here.


I made her tutu from Butterick #5545.


The directions were simple and clear, however it can get a little hairy when you're putting on the 6th layer of gathered tulle. 

Have I mentioned before that I hate gathering? 

I usually love the look it creates enough to power through, but I hate it!

I like how it ties in the back, which means it will last a little longer as she grows:


Just so you have pictures of all angles, here is what the tutu looks like upside-down!

See?  I told you we had fun!

Dance class doesn't get any more fun than tutu's and hanging on the barre pretending to be a monkey!

Monday, June 6, 2011

make-your-own-costume kid craft

Today is trouble-maker #2's birthday.  He's 6, and he decided he wanted to have a costume party.

So we sent out the invites:
When each kid got there, besides the traditional party games, present opening, and cake & ice cream, we had a craft set up (the brain work behind which was mostly my husband's.)

We told each of the kids they could use whatever they wanted from the table to make themselves a *new* costume, and at the end of the time limit, Xavier, the birthday boy, picked the winner.  (He, of course, went the political route and declared them all the winners.)  :)


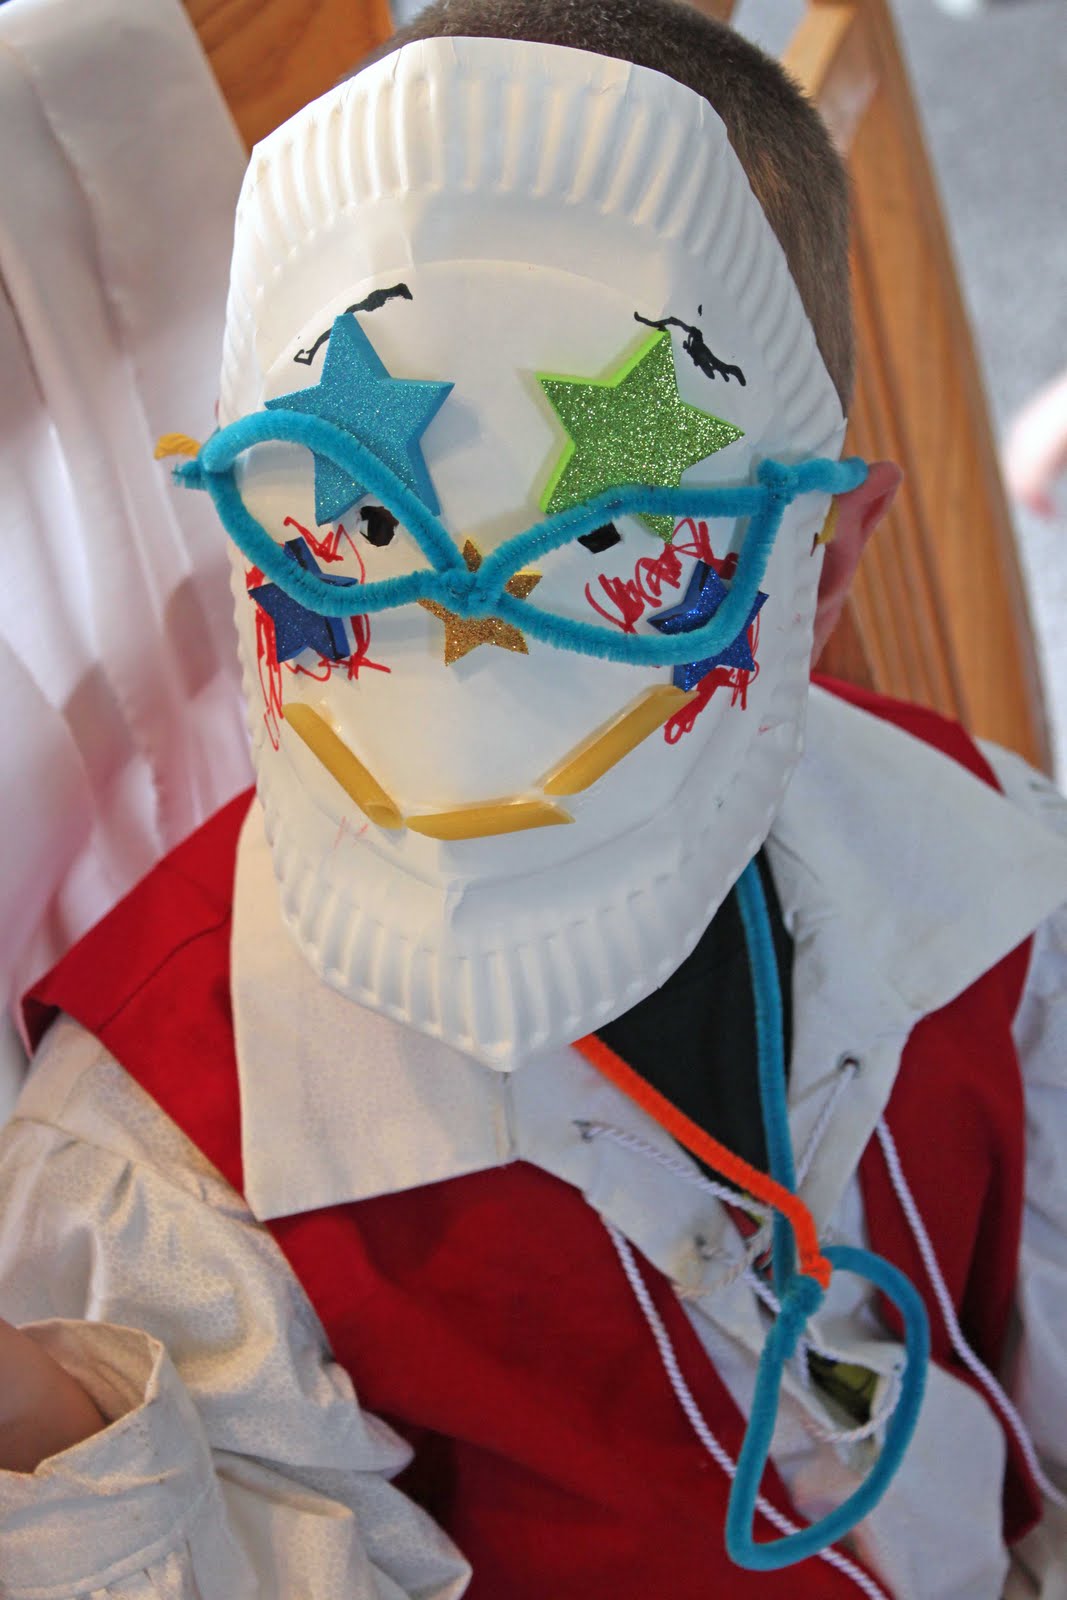
The items on the craft table included a 10" x 90" strip of fabric for each child, paper plates, regular printer paper, card stock paper, neon pipe cleaners, foam star stickers, yarn, ribbon, penne pasta, crayons, colored pencils, markers, glue, tape, hole punch, stapler, and scissors.


Here is what they came up with:  (sorry about the stars over some of their faces, but not all these little sweeties are mine, so you understand.)

A starry-eyed cowboy.
This little guy made a myriad of accessories, including a gun and a map.
A shield and a whip.
This is an owl with wings.
A necklace with "princess wings."
Even my husband got in on the fun with his goofy ears and funky nose.
the birthday boy!!

In my unbiased opinion, I think Xavier's was the best of them all!  Happy Birthday, buddy!

Wednesday, January 5, 2011

wedding dress-up


This one was one of my favorites to make.

I don't know what it was . . .

maybe the waistband with the gathered front panel and easy-close tie in the back:

or, maybe it was the headband veil with the sweet little flowers and double layer to pull down over her face (so that nobody can kiss her until she's married . . . that's what we keep telling her.)

Maybe it's the way she loves to dance in it:


or, maybe--just maybe--it's that 20 years from now I hope to be able to make her real bridal gown and that she'll be this happy about both it and the man she's chosen to marry:

Linked to:


CreativeShareWednesdays
Show and Tell Green

Tuesday, January 4, 2011

princess skirt


I wanted to make Rora a whole bunch of dress-ups for Christmas, but only two of them got done.  (Such is the life of a procrastinating, pregnant mother-of-four-almost-five.  I will never get as much done as I want.)

The first, and most important dress-up to make was a princess skirt (to go with her princess crown.)

Once again, I made up my own pattern (I am on a roll, people!!)


I didn't do a tutorial as I was making it, so if there is interest, I can quickly make another one with step-by-step pictures . . . so, let me know!

Linked to:
A Little Knick Knack

Tuesday, November 16, 2010

felt princess crown

The hit of Rora's birthday this year was the gift that took me 10 minutes to make!!

I made her a felt princess crown that she just loves.  She's worn it almost non-stop for the past 3 days.

I made up my own pattern for this (gasp--I know!) and threw it together very quickly.  So, if you want to make your own, here's how:

I didn't think about a tutorial for this because it was a last-minute idea, so I don't have many pictures, but I think it's easy enough to understand.  If not, I can whip up another one and post a tutorial.

First, I measured Rora's head: 19-1/2 inches.

Next, I began making my pattern by measuring 9" from one side to the other.  (The piece was cut on the fold, making the total length 18 inches.)


After measuring 9 inches, I created the shape I wanted with the highest point in the center, and a smaller point next to it, with the back just a basic strap.

I placed my pattern on the fold and cut one from each of two different colors of felt.

After that, I layed the pieces over the top of one another and sewed around the edges, as close to the edge as possible, leaving the back ends open.


The next step was to cut 2" of elastic for the back.  This will make it so the crown can grow with her a little bit. 

I inserted 1/4 inch of each end of the elastic into the end of the back of the crown and sewed it in place, leaving just less than 1-1/2 inches showing in the back.

The final touch was the diamond in the front of the crown, which I drew on with a pencil, stitched over my lines, and then carefully cut only the top layer of felt so that the under layer would show through.

And ta-da!  A crown fit for a princess.

This process could also be used in different shapes for a king, or a fun birthday crown.

Monday, November 1, 2010

halloween costumes 2010

This year, I procrastinated everything until the very. last. second.

I mentioned in my previous post that I stayed up pretty much all night long to finish Samuel's and Xavier's costumes for their school parade on Thursday.  I slept well Thursday night, and then sewed until about 1 am on Friday night working on Rora's witch costume, and then after errands on Saturday, I sewed until about an hour before Trick-Or-Treating on Saturday night to make Zoram's costume.


All in all, they turned out really cute, and I'm very happy with them!!  Enjoy!

ghost costume

Zoram was a ghost this year.  His costume I made up completely on my own.  I used a circle for the bottom, leaving openings for his arms.  For his hood, I traced the hood on one of his jackets, allowing for a seam, and created a point at the top for the little knot, and then just attached the hood to the elastic top on the circle.


It was easy-on, easy-off, and free moving for my little wiggler!

witch costume (simplicity 4139)

Rora was a witch for Halloween this year, and for her costume, I used Simplicity 4139.  This pattern was very detailed, but I found that it was the details that really made the costume special.


She had a dress, a corset-style belt, a cape, and a hat.

skeleton costume

Xavier was a skeleton this year.  For his costume, I also used Simplicity 4133 for the pants, shirt, and hood.  Then, I created my own applique bones and used wonder under to attach them, after which I sewed them on for strength.

mummy costume

Samuel was a mummy this year.  I used the pants, shirt and hood pattern from Simplicity 4133, and then tore strips of farbric, which I then sewed one by one onto the pieces to make a mummy.  If I were to do it again, I would try to do them a little less uniform, but you know me . . . I don't do random!

Tuesday, October 19, 2010

dinosaur costume (mccall 2335)

Xavier's Halloween costume three years ago was a dinosaur costume!  He picked it out, and chose the colors, (which I loved because it's neutral, and I can add a bow to it, if a little girl wants to wear it in the future.)


I used McCall's #2335.  It was a lot of stuffing and pieces, but it was simple enough for a basic sewer, if you're willing to take your time.


I loved that the feet are attached to the bottom of the legs, and that it has optional gloves.


I also made a pink version of this very costume the same year for a neighbor girl who was very into dinosaurs.  I think they both turned out adorable!!

You could also add wings and not put the scales on the hat to turn this pattern into a dragon, if that's what you wanted.