Showing posts with label tutorial. Show all posts

Monday, January 24, 2011

flannel baby blankie

Each of my kids has had several blankets, but the ones they end up attaching to that then become their "blankies," are the flannel, crocheted-edge ones.  I cannot refuse to do the edging because I hate to crochet, but luckily, I have an uber-talented sister who loves me enough to edge blankies for me!--I honestly can't figure out how anyone can enjoy crochet.  It's time-consuming, and by the end of a row, my hand is usually cramped and looking like the claws you find on the ugly old woman version of the queen in snow white.

With the new little one joining us in about two months, it is time to make a few new blankies.  We don't know the gender of this baby (it's most likely our last baby, and we wanted a surprise,) so there is one for a boy, and one for a girl.  I'll give the other one away as a baby shower gift.

I thought it might be fun to give you a step-by-step tutorial for my version of these easy little blankets.

First, you'll need 1 yard each of two coordinating flannel fabrics.  Wash and dry them.


 2.  Next, you'll need to iron each piece.


3.  Lay your two pieces on top of one another, wrong sides together, matching up two edges.  Brush your hands along the fabric, starting at the corner you lined up and working your way out to make the two pieces of flannel "stick" to one another.


4. Now, you want to trim your edges so that they are straight and even.


**One of my pet peeves is when stores have this printed on the edge:**
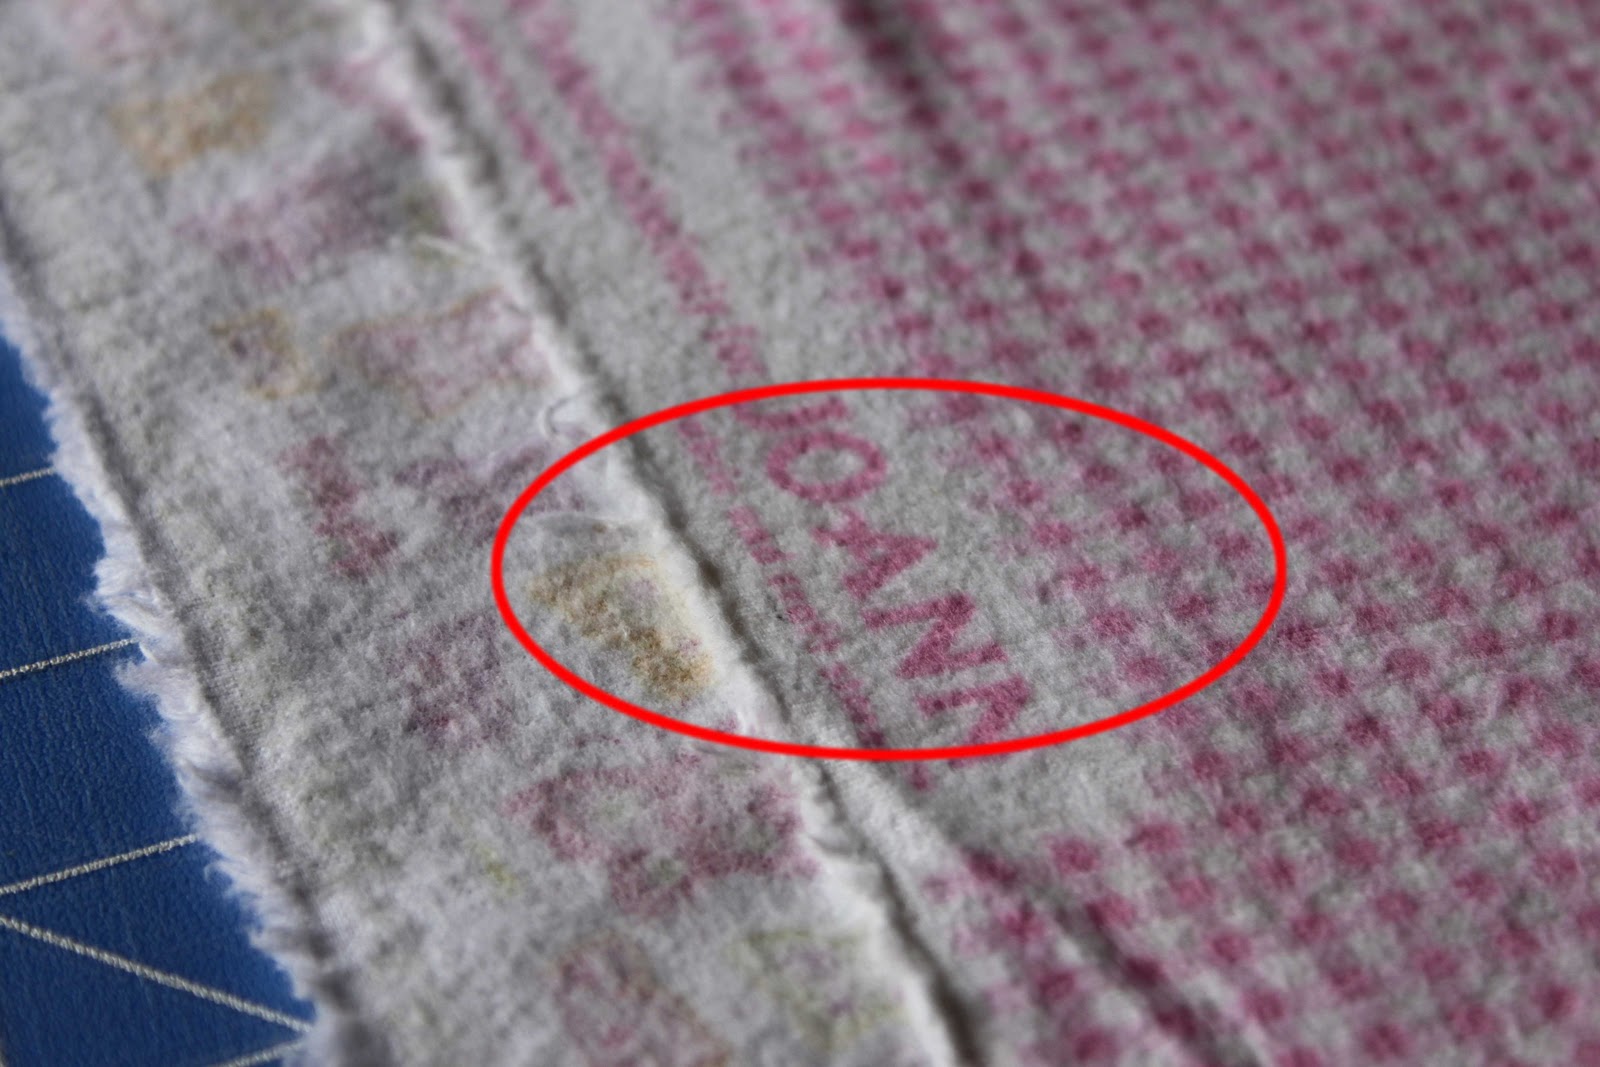
It forces me to cut an extra 1 1/2 inches off because I don't want their name on the edge of my baby's blanket!  (scowl)


When you're finished trimming, you should have 4 edges lined up perfectly.


5.  Next, I pin (about 10 inches apart) my fabrics together.  I do this because it bothers me when they shift after being washed several times and there is an edge with a fold in it because one fabric is slightly bigger than the other.  I like to machine quilt the blanket so that it all stays in place.


You can pin using any method you like.  You could measure to make your lines even.  I counted little squares for these blankets.  You could even free-hand it, if you're so bold, but I strongly recommend pinning before you start so that the pieces don't shift while you're sewing and create bunches and perma-wrinkles in your blanket.

6.  After pinning, sew your layers of flannel together.


7.  Next, I like to serge the edges to keep the flannel from fraying, and to give it a little more sturdy edge.


8.  The final step requires the use of a hemstitch needle.  (Shown below.)
 

Sew around the edge of the blanket, turning the blanket with the needle down at the corners.  I sew 3/8" (the first line) from the edge, but you could sew a closer or further from the edge, depending on how wide you want your crocheted border.
 These are the holes my sister will use to put on the crocheted border.

Viola!  Two blankets done in a matter of a few hours (minus the border.)

Linked to:
All Thingz Related
Show and Tell Green


CreativeShareWednesdays

Get your craft on Thurs.


Catch a Glimpse Button


giveaways
HookingupwithHoH

Thursday, December 16, 2010

homemade french bread


This recipe comes to you from my gorgeous Guatemalan friend, Luisa, who is a cooking/crafting/do-it-yourself-er extraordinaire, but unfortunately, her blog is also her family blog, and so it's private.  So, I hope she won't mind if I share with you her (mother-in-law's) recipe for homemade french bread because I think it's something everyone should have!!

**Read through the whole recipe first before you start.  It takes roughly two hours start to finish, so bear that in mind when making this.**

Homemade French Bread: (2 loaves)

2-1/2 cups very warm water
2 Tbsp sugar
2 pkgs or 4 tsp dry yeast
1 Tbsp salt
2 Tbsp cooking oil
6 cups white flour
Sesame or poppy seeds (optional)
1 egg
corn starch

1.  In 1 cup warm water (warm enough for a child's bath--not yours!  You don't want to scorch your yeast, just make it feel all snugly and warm,) add the yeast and allow it to begin percolating.

2.  Meanwhile, run a large mixing bowl under warm water and then measure out your sugar, salt, oil, and 3 cups of flour into the bowl.

3.  Add the yeasty water plus the other 1-1/2 cups warm water and mix. 

4.  Slowly add the other 3 cups flour, mixing between each cup added.  By the end of this step, I usually knead with my hands rather than mixing with a spoon, but whatever you want is fine. (**This recipe works really well at a high altitude, so those of you living in lower altitudes than Utah might want to stop with just 5 to 5-1/2 cups flour total.)


5.  Let dough rise for 10 minutes and then stir or knead it back down (even if it doesn't appear to have risen much.)  Repeat this step four times.

6.  Divide the dough in two parts and place one on a lightly floured surface, leaving the other in the bowl for now.

7.  Roll the dough on the counter into a rectangle approximately 9" by 12".

8.  Roll up the dough jelly roll style and pinch the ends closed.

9.  Place on a baking sheet sprinkled with corn starch.

10.  Make the other loaf in the same manner.

11.  Allow the dough to rise uncovered for 30 minutes.

12.  Using a sharp knife, make 3 shallow diagonal slices in the top of each loaf.

13.  Brush the loaves with a slightly beaten whole egg, and then sprinkle with poppy/sesame seeds, if you would like.  The heavier you brush on the egg, the crustier the top of your loaf will be.
 (We like the top fairly soft, so we brush the egg on fairly lightly.  We also like to make one loaf without seeds.)

14.  Bake immediately in the oven for 25-30 minutes at 400 degrees.

Enjoy your beautiful, delicious homemade french bread.  Thanks, Luisa!!

This ends up being a lot of bread for our family, so we usually have it as a side dish with something like spaghetti or chicken casserole.  Then, the next day I usually slice it thinly and make mini-pizzas for the trouble-makers' lunch.  It can also be sliced across the middle and made into garlic bread (grocery store style.)


Any other french bread ideas out there?  I'd love to hear them!

Tuesday, December 14, 2010

reversible car seat cover

This project is so easy!

This weekend, I found myself three hours before a baby shower, and not having gotten a gift for the new mommy, yet.

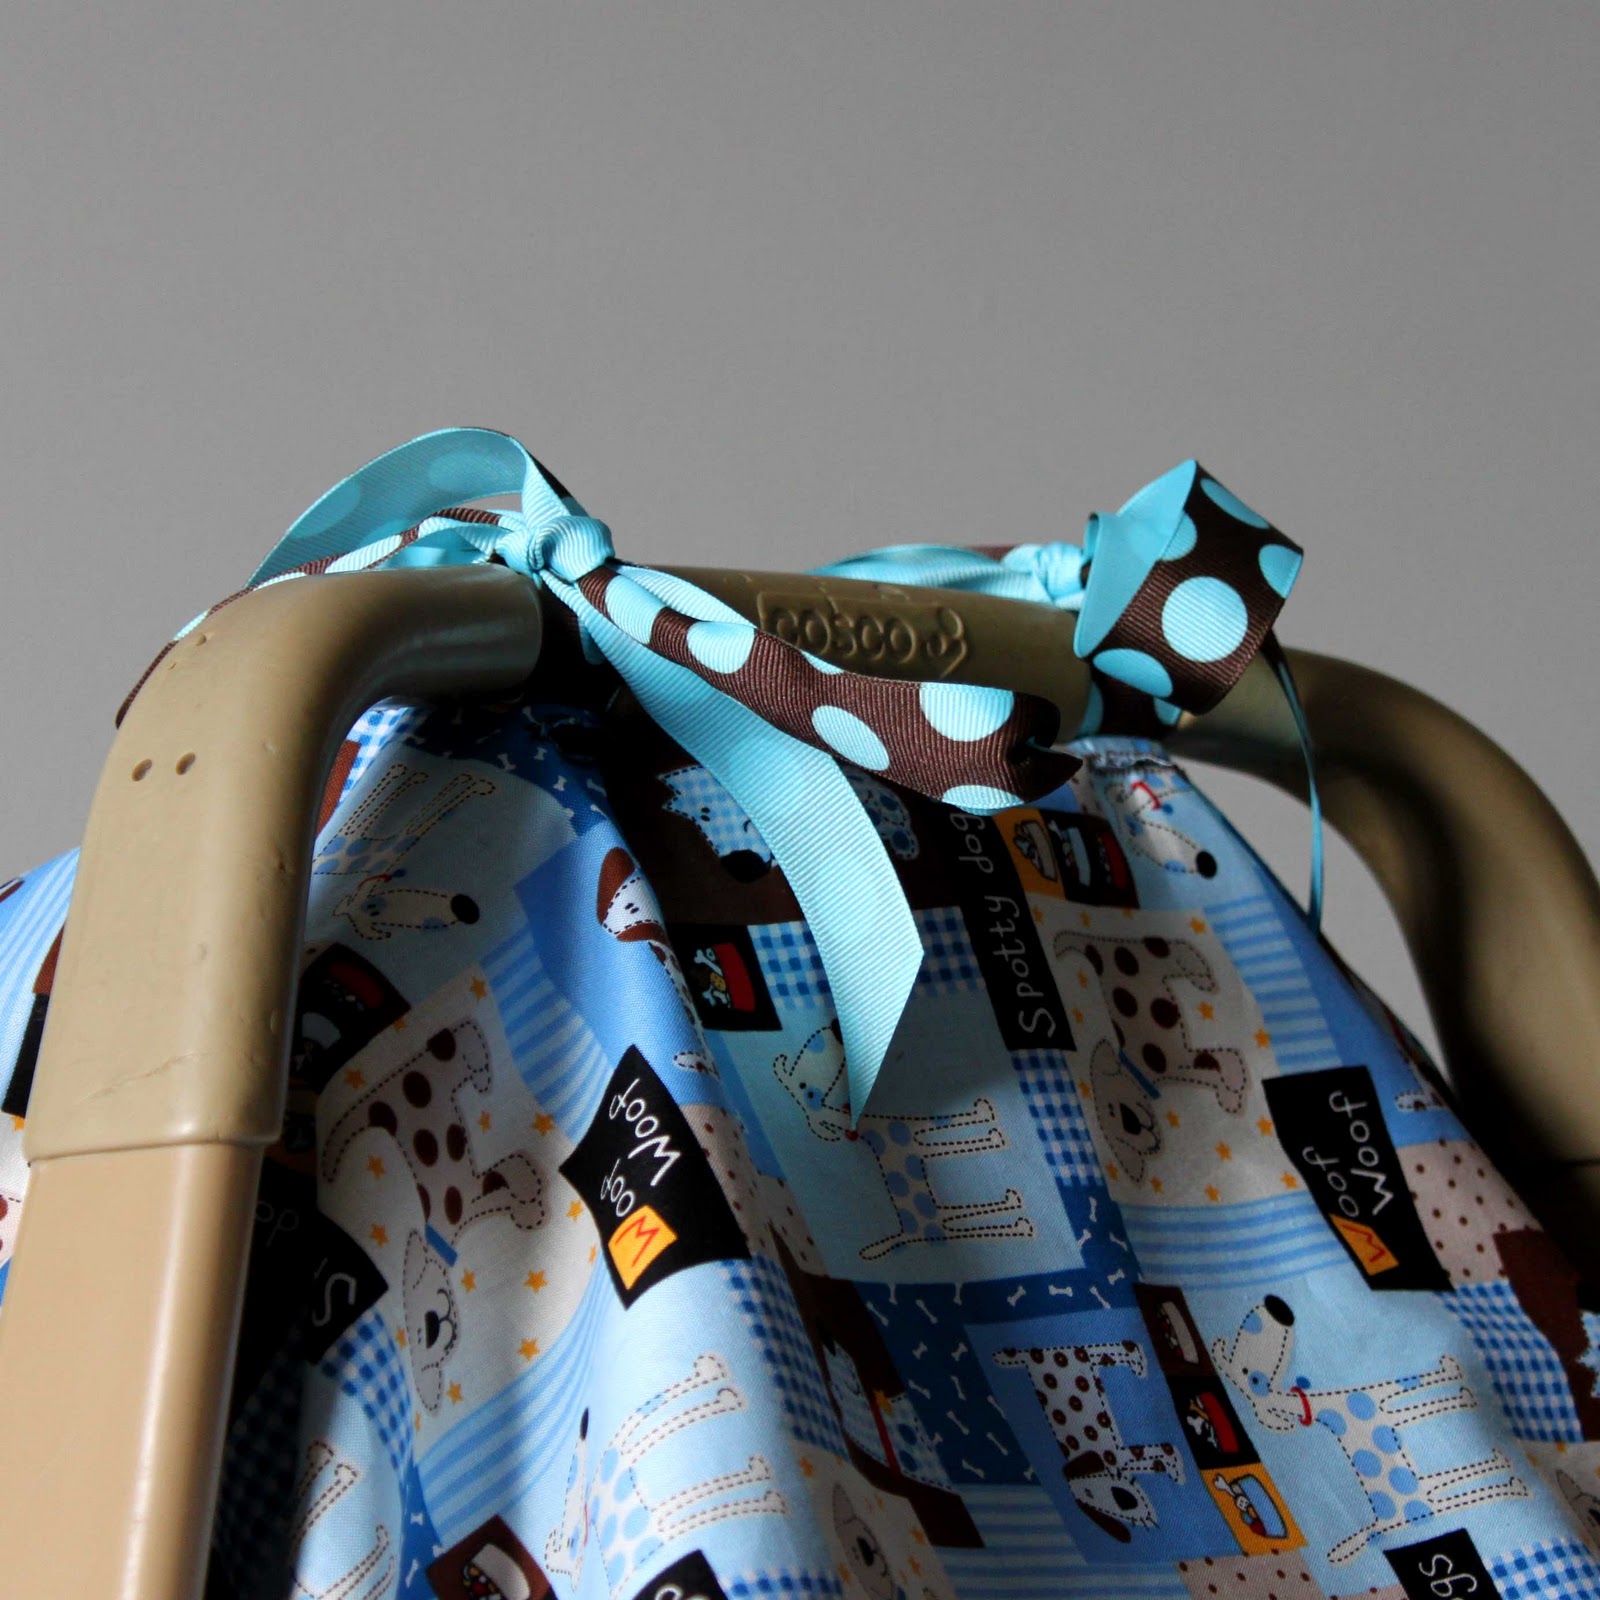
So, I ran to the fabric store and got 1 yard each of two complimentary fabrics, and a spool of 1-1/4" ribbon to make a reversible car seat cover.

You've seen these before . . . you know, the canopies that hang over the baby, but still allow you to carry the car seat by the handle?  I love them because when curious people want to see your baby, you can pull the curtain back a tiny bit for them to see, but not enough for someone to put their germy hands inside and touch your little bundle's face.  They also block out light to help the baby sleep more soundly.

For my version of the car seat cover, I laid the two pieces of fabric on top of each other, right sides together and sewed around the edge, leaving an opening to turn it.

Then, I ironed and top stitched the hem in place, closing the turning hole.

Next, I sewed two straps (approximately 30 inches long each) in place in the center, about 6-7 inches apart from each other.

Finally, on either side of each strap, I sewed a button hole the same length as the ribbon's width to pull the straps through to the other side.


Ta-Da!  Total, this project took about an hour, so making several of these would be quick and easy for a go-to baby shower gift.