This project comes from another baby gift that was given to us when my first son was born. A guy I worked with brought us some adorable bibs made from kitchen towels. I loved them because they were big, catching everything that fell from my baby's mouth.
3 kids later, I needed to make some more, so I thought I'd put up a tutorial so that anyone interested could make them.
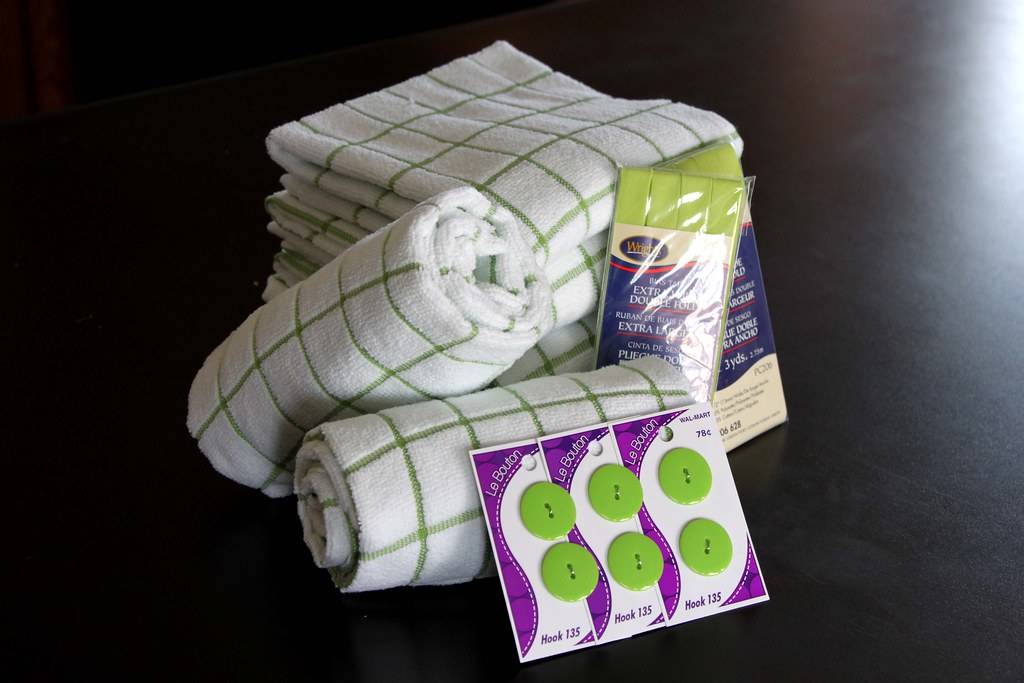
For this project, you will need (this will make 6 bibs:)
6 kitchen towels,
1 pkg extra-wide, double fold bias tape (there are two pictured, but I only needed one,)
6 buttons
1/3-1/2 yd stretch knit ribbing
thread
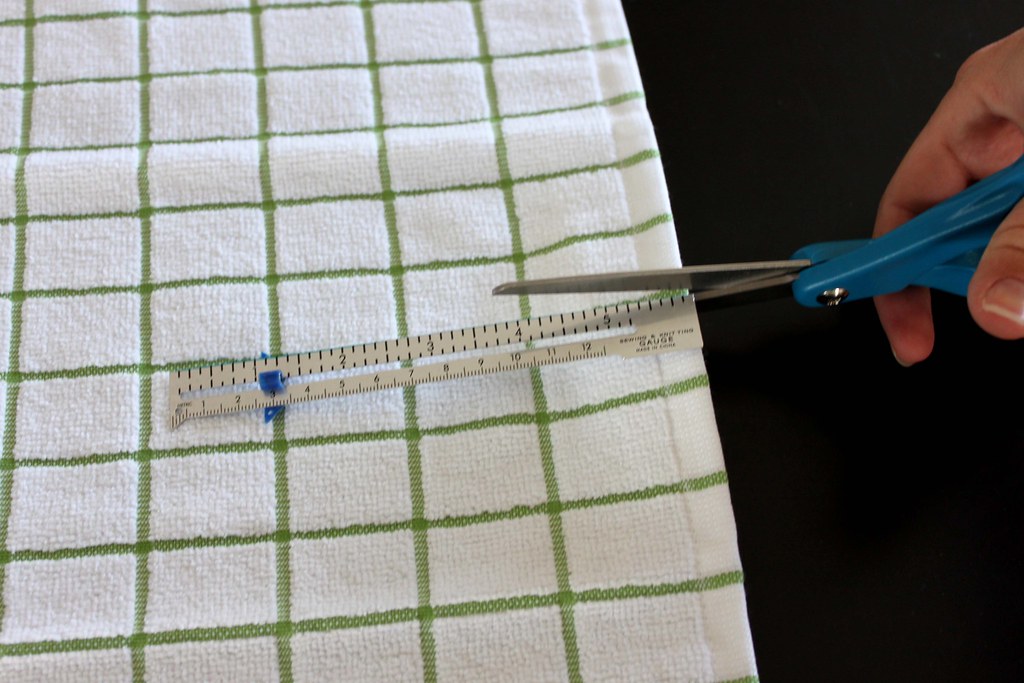
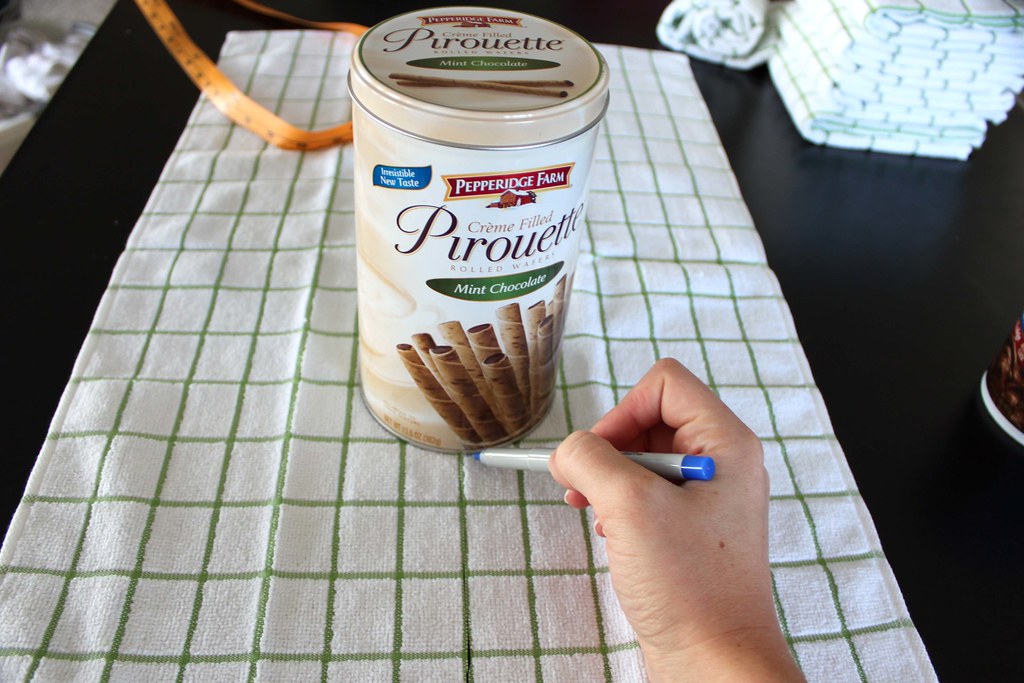
Open up your towel and measure the width to find the center. (Luckily, mine happened to be on a stripe.)

Cut up the center of the towel 6 inches. (This will be the back of the bib, so you may want to cut the end of the towel with the tag.)
Find something round in your house to use for the neck opening, and trace it, beginning at the top of your 6" cut. It should measure roughly 12 inches around.

Cut around the circle you just traced.
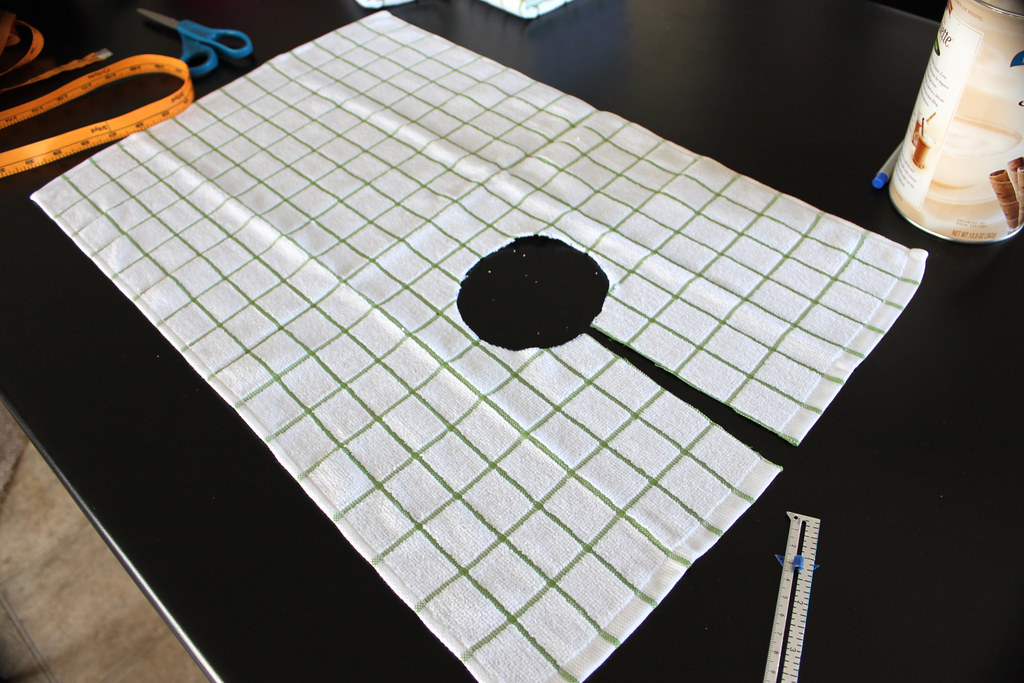
Measure the circumfrence of the item you used to make the hole. Mine was 12 1/2 inches.

Cut your ribbing 1/2 inch shorter than your circle circumfrence, and 3 inches tall. (Make sure the ribbing stretches in the fat direction, not the short direction.)

Measure and cut your bias tape in 7 inch pieces. You will need 2 for each bib, or 12 total.

Now that all the cutting is done, it's time to start assembling.
Fold your ribbing in half lengthwise and pin.

Sew the two short edges closed.

Trim the corner near the fold.

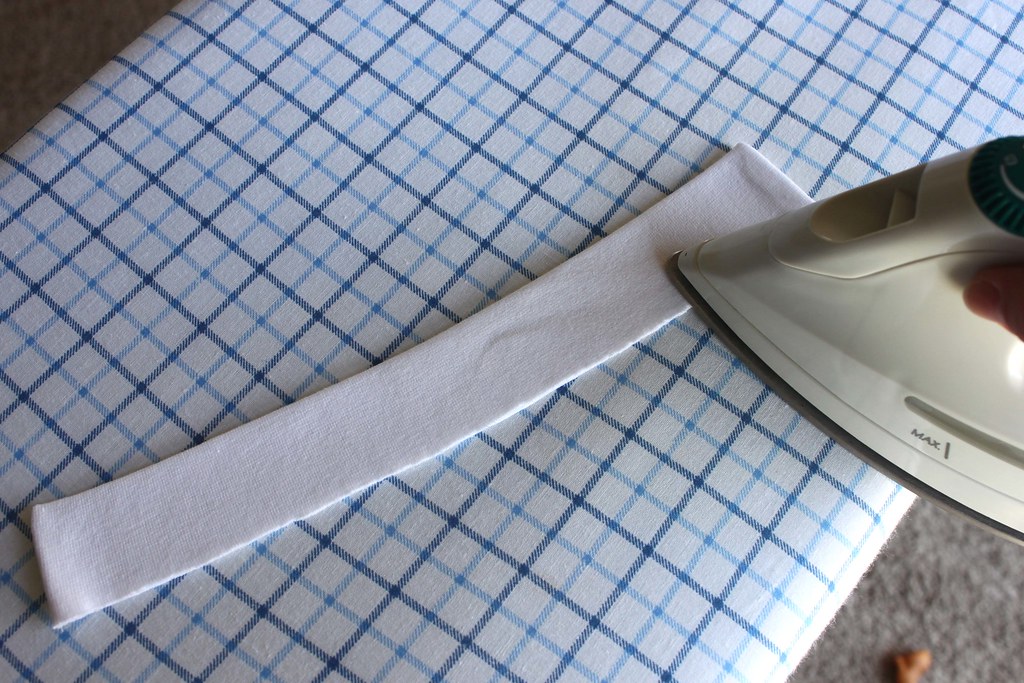
Flip the ribbing inside out and iron, making sure to match up the raw edges.
Stretch the neck hole on the towel so that it's straight and pin the ribbing to the front. Match the ends, and make sure that all your raw edges are together.
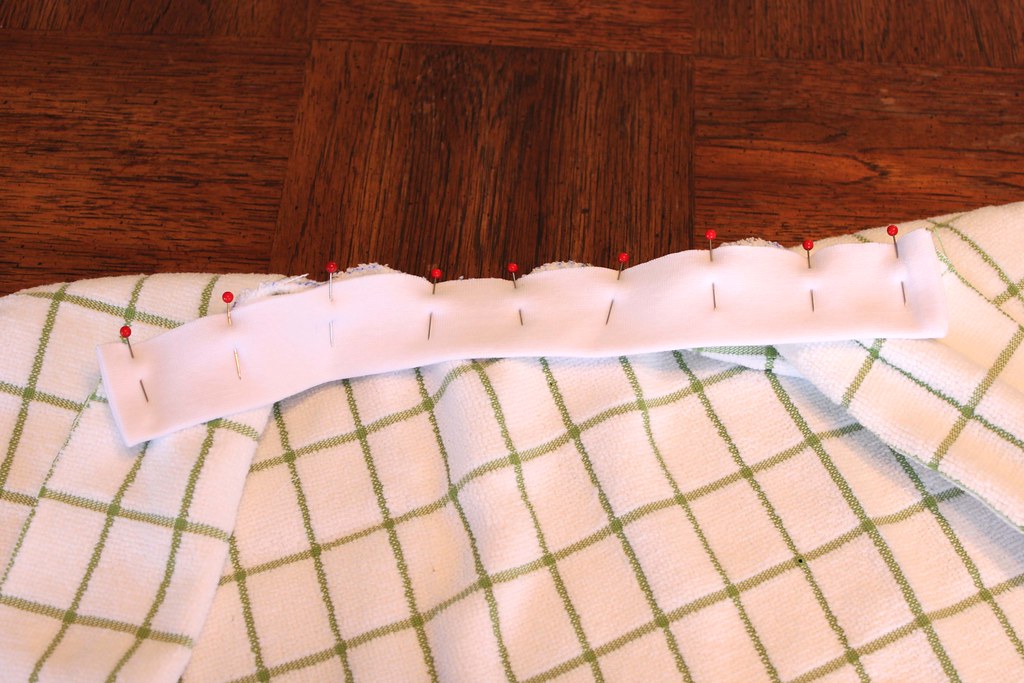
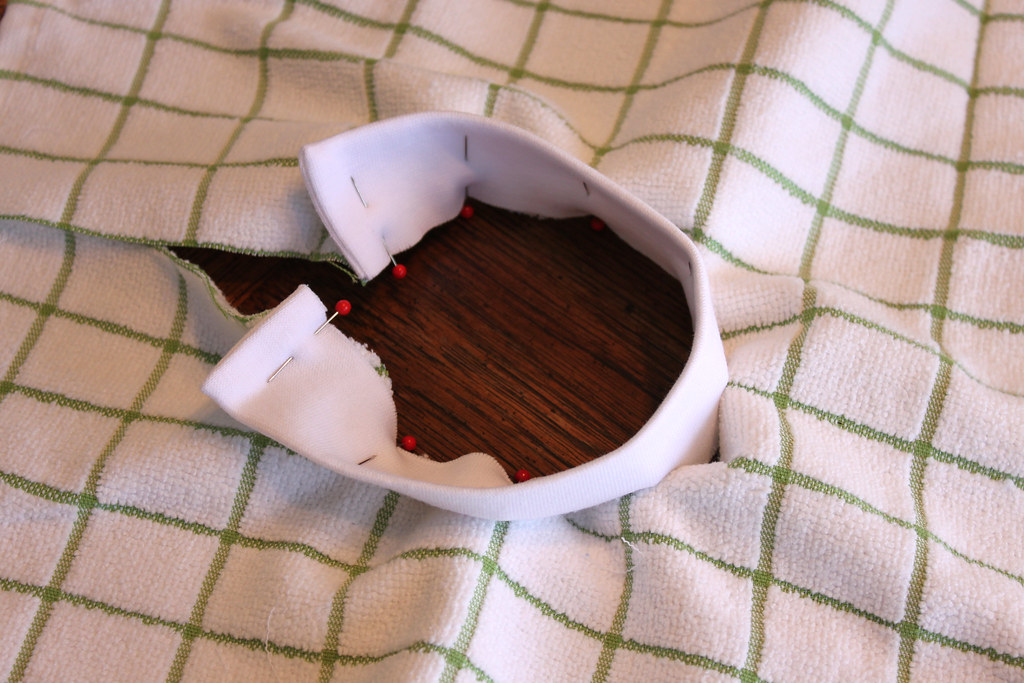
Sew the ribbing in place with a 1/2" seam allowance, stretching where you need to make the ribbing fit.

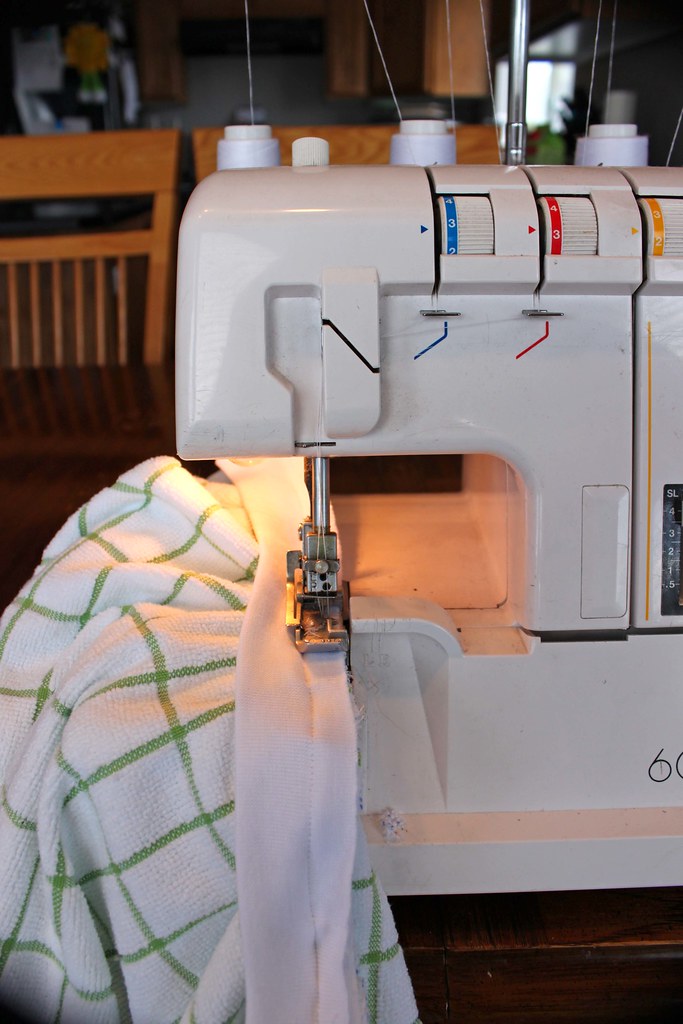
If you have a serger, serge the unfinished edge. If you do not have a serger, zig zag stitch the edge.
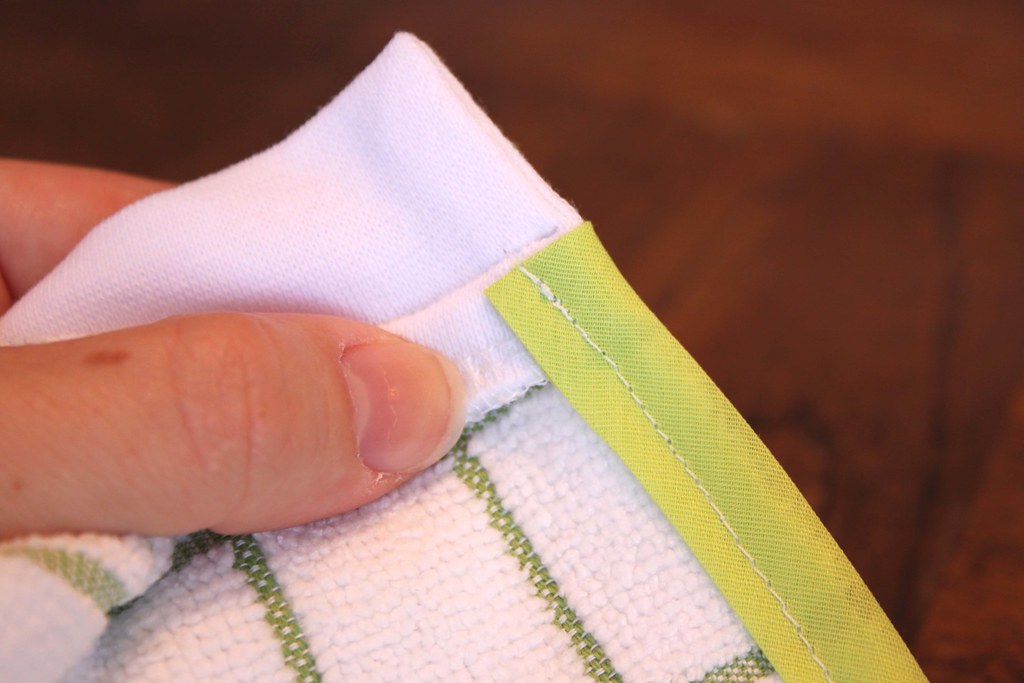
Next, open up one piece of bias tape and fold the end down 1/4-1/2 inch, which will create a nice finished edge. Fold the bias tape around the raw slit in the back of the bib, starting at the seam between the ribbing and the towel. Pin it in place.
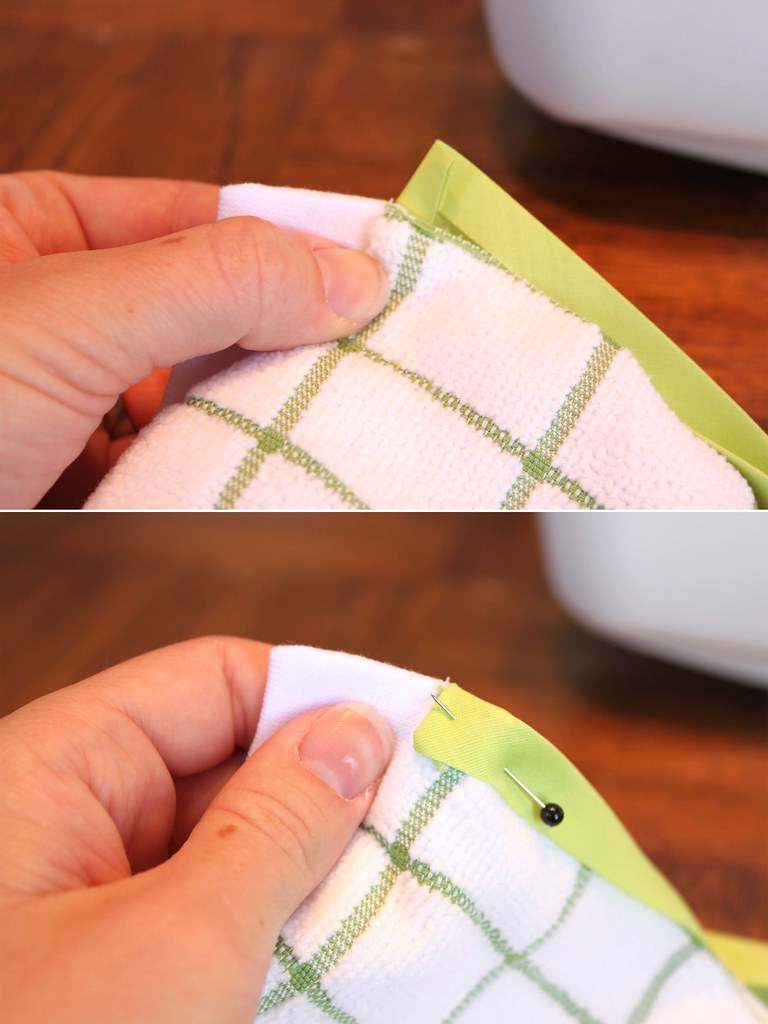
Do the same for the bottom of the piece of bias tape. Also pin where you feel necessary between the top and bottom.
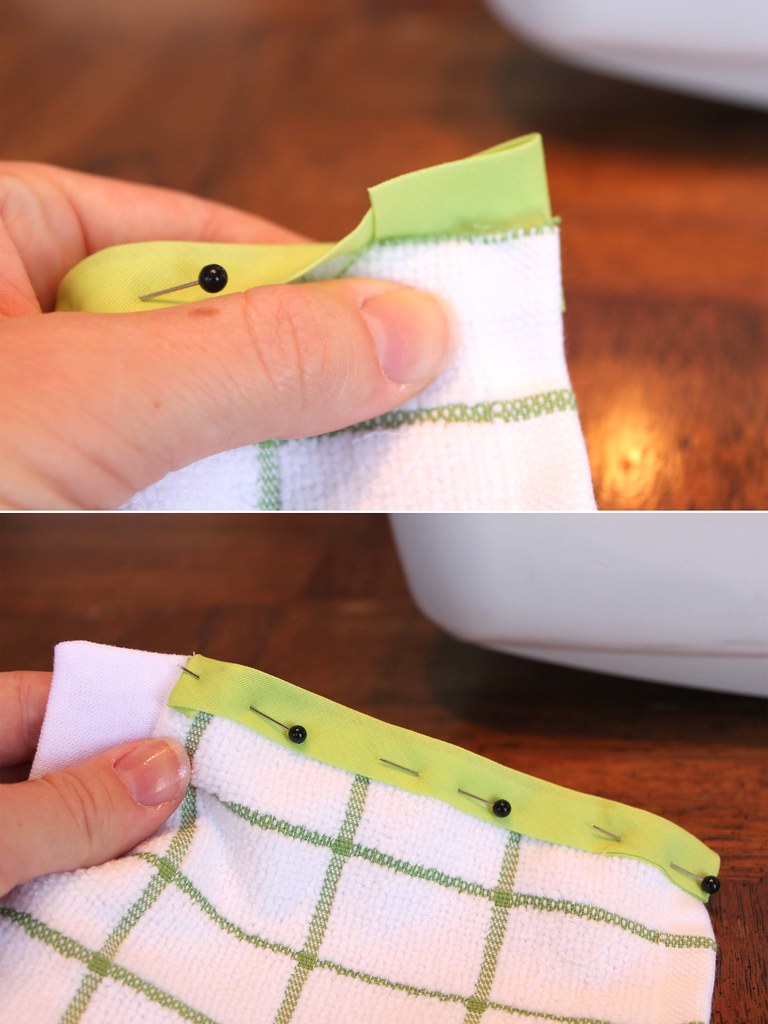
Sew down the bias tape, making sure your seam is toward the towel, not the ribbing.
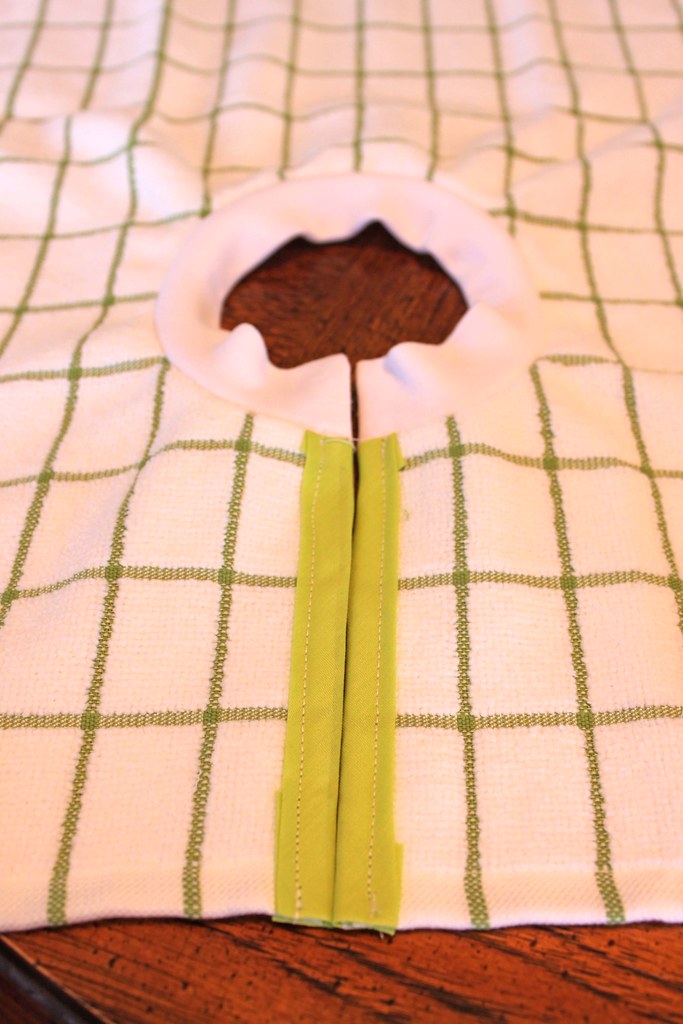
Do the other side the same way. When you're finished, it should look like this:
All you have left is a button hole and a button.
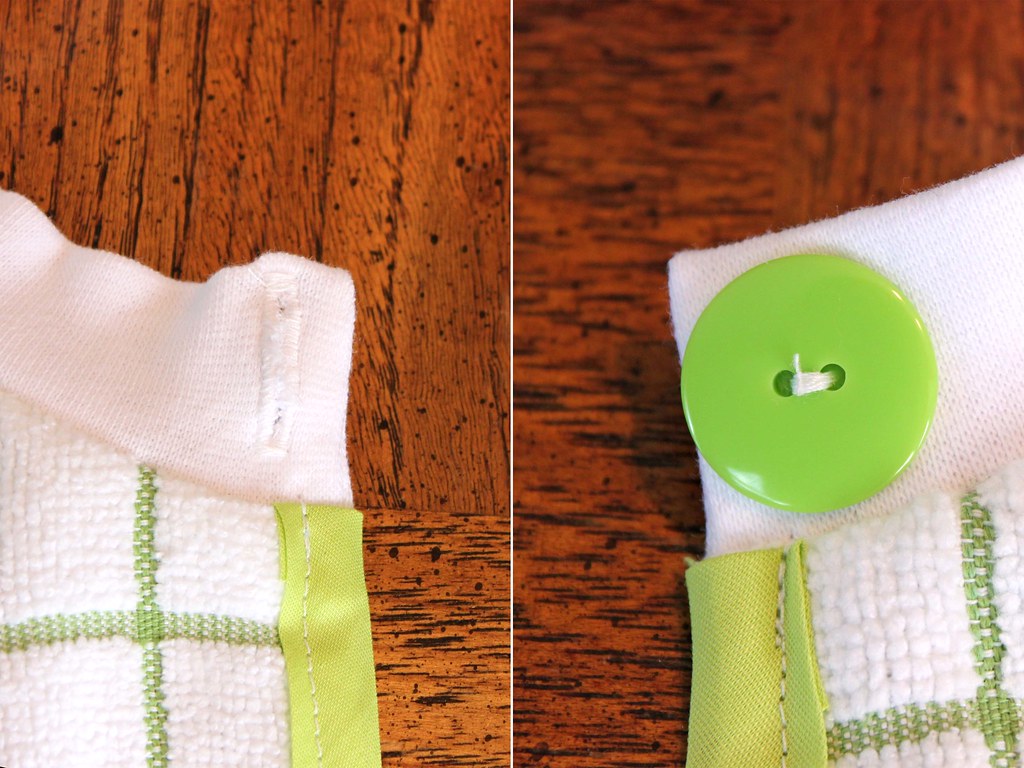

Now the bib is finished and can be buttoned behind the child's neck.

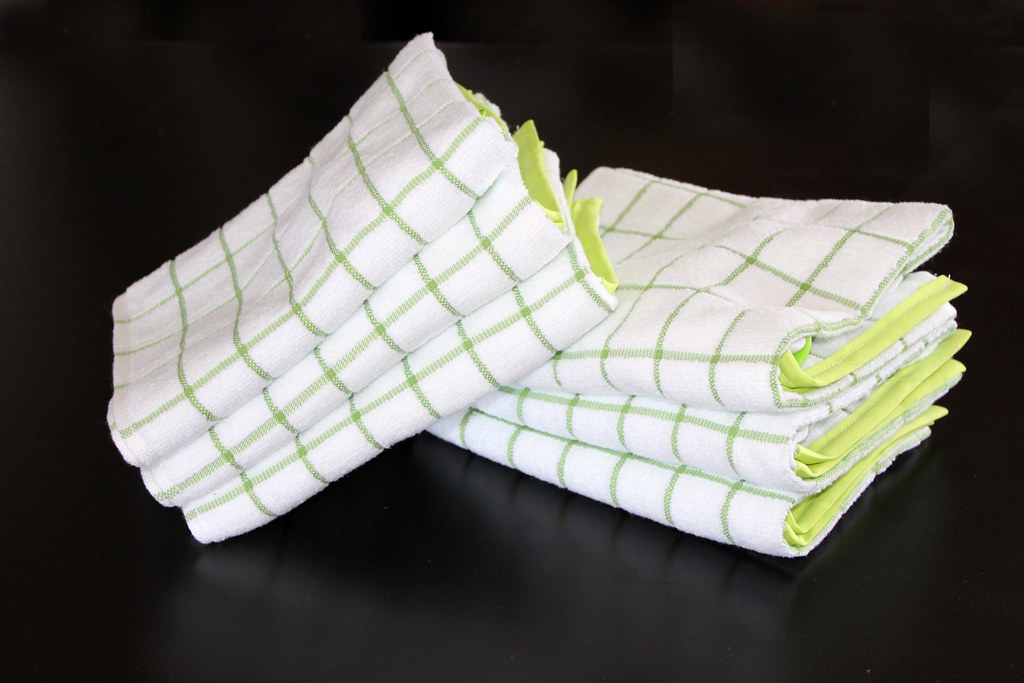
Now, go ahead and do the other 5 bibs!!
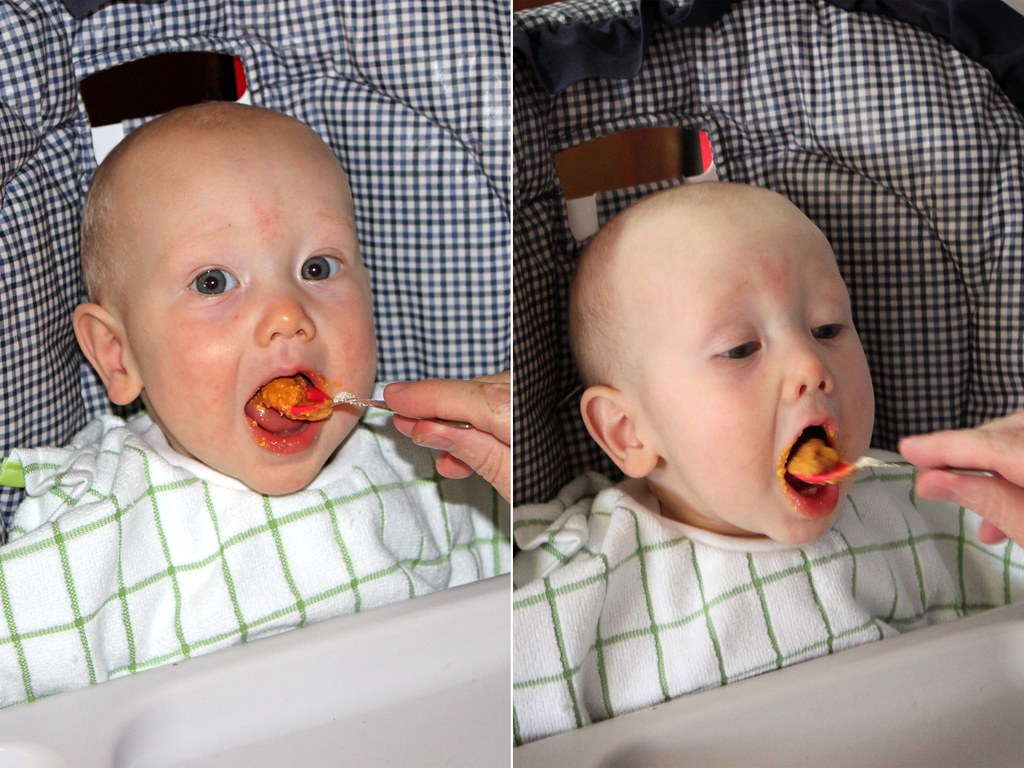
This bib is really versatile and works for an infant learning to eat solids . . .
We also like to use it for our two-year-old to keep messy dinners from falling into her lap!

Happy Sewing!!