Showing posts with label boy. Show all posts

Thursday, July 21, 2011

crib sheets

My husband's cousin had a baby shower this past weekend, and I found myself wanting to make something different than what I normally make (ie: burp cloths, blankets) since I knew my mother- and sister-in-law, as well as several aunts are quite adept at making those cute crochet-edged blankets and burp cloths.

So, I got to thinking about why it's nice to have all those blankets and burp cloths.  Naturally, it's because babies, while sweet and adorable, are also sometimes little packages of poop and puke just waiting to leak or, heaven forbid, explode.

The worst possible times for this to happen are in the middle of the night.  Imagine entering your child's room in the middle of the night to realize he has spit up or blown out sometime in the 3 hours since you saw each other last.  You find yourself staggering around in the dark, eyes half open, brain completely off from the countless nights without sleep, trying to clean up after your infant and his lack of control over bodily functions, only to reach into the drawer where his sheets are kept to realize that he did this exact same thing earlier in the day, and you haven't gotten to that mountain of laundry, yet.

*sigh*

So, what do you do?

Strip down the bed and lay down a blanket big enough to tuck in on the sides so as not to be a smothering hazard and vow to buy more sheets in the morning.

The next morning, when at least half of your brain is firing again, you wash a load of laundry containing both sheets, and then suddenly the need for more crib sheets is pushed right out the back of your brain until the next time you need more than one sheet in a day.

Having experienced this predicament more times than I care to admit, I wanted to provide the new mommy with a head start.  I made her 3 crib sheets out of varying fabrics so she can decide what she likes.  Hopefully these, coupled with the sheet that comes with her crib set will give her enough sheets to keep ahead of the disastrous projectiles coming out of her sweet little angel.


I winged the pattern all on my own, but if you're interested in making your own crib sheets, I recommend using Dana's crib sheets tutorial.  It's detailed, fun, and like all her tutorials, full of great, easy-to-follow pictures.

The only things I changed were that the sides to my crib sheets were 6 inches, rather than 8.  Also, instead of creating a casing around the bottom edge, I simply serged around and then attached the elastic directly to the serge using a triple step zig-zag stitch, stretching the elastic as I went.

I used flannel:


cotton:


and super-soft Minky fabric:  (this is what I would want to sleep on, if I were a baby)


So, the next time you're making something for a baby shower, don't forget to include a crib sheet or two!

linked to:


Monday, June 6, 2011

make-your-own-costume kid craft

Today is trouble-maker #2's birthday.  He's 6, and he decided he wanted to have a costume party.

So we sent out the invites:
When each kid got there, besides the traditional party games, present opening, and cake & ice cream, we had a craft set up (the brain work behind which was mostly my husband's.)

We told each of the kids they could use whatever they wanted from the table to make themselves a *new* costume, and at the end of the time limit, Xavier, the birthday boy, picked the winner.  (He, of course, went the political route and declared them all the winners.)  :)


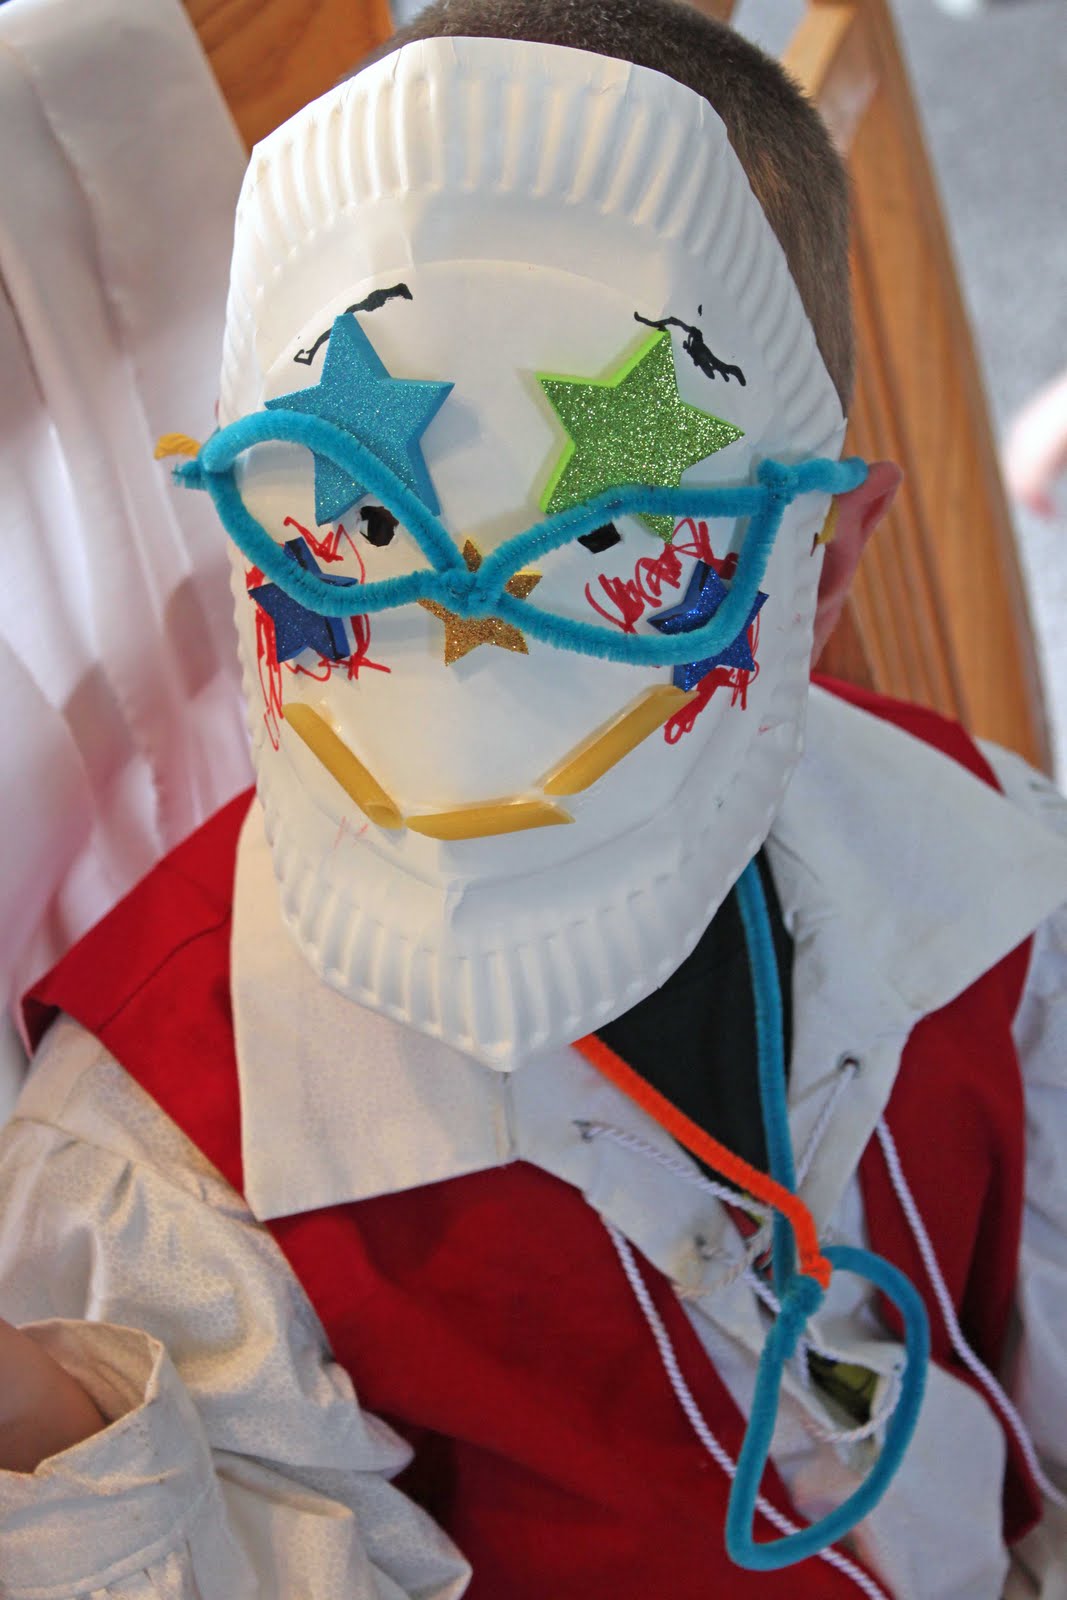
The items on the craft table included a 10" x 90" strip of fabric for each child, paper plates, regular printer paper, card stock paper, neon pipe cleaners, foam star stickers, yarn, ribbon, penne pasta, crayons, colored pencils, markers, glue, tape, hole punch, stapler, and scissors.


Here is what they came up with:  (sorry about the stars over some of their faces, but not all these little sweeties are mine, so you understand.)

A starry-eyed cowboy.
This little guy made a myriad of accessories, including a gun and a map.
A shield and a whip.
This is an owl with wings.
A necklace with "princess wings."
Even my husband got in on the fun with his goofy ears and funky nose.
the birthday boy!!

In my unbiased opinion, I think Xavier's was the best of them all!  Happy Birthday, buddy!

Friday, May 27, 2011

car seat re-cover

This little project was started before Graham was born, but got interrupted by his birth and didn't get finished until yesterday.

The carrier car seat we own had an awful plaid, lumberjack-ish pad with almost no padding.  So, before Graham came, I decided to redo the padding and sun visor in a gender-neutral, but much cuter fabric.  I got the pad done the week before Graham was born, but other things came up, and I didn't finish the sun visor right away.

Then, the weather here in Utah became extremely cold and rainy for the past two months, so it became unnecessary to finish the visor until recently.  And, while the weather here still is not sunny and warm, I refuse to believe that the wet, cold weather can last much longer.

I've gotten off topic, so without further ado, here is the car seat with new "upholstery."

Without a pattern for a car seat pad and visor, I wanted to make sure the new ones would fit, so I tore apart the old ones and used the pieces as a pattern:

Everything seemed to fit perfectly, and I was able to fix a few things about the old pad that I didn't like . . . namely that the top and bottom edge came off a lot because the elastic had been stretched out and wasn't holding the pad on very well.  Also, I used two layers of batting to make Graham's ride a little more comfortable.


Hopefully, I'll have time for more sewing over the weekend.  Have a great one!


Photobucket


My Uncommon Slice of Suburbia


Thursday, March 31, 2011

coming home from the hospital - boy

This is the first baby that we haven't known the gender, and this is also the first baby that I've been bold enough to trust my own two hands to make the little bundle an outfit to come home in . . . or 4.

"Why four?" you ask?

Well, because we didn't know the gender, and each of our babies has gotten bigger than its previous sibling, with our youngest weighing in at 9 lbs 2 ozs (which is why I also opted for my first epidural, people.)  So, I took with me to the hospital two outfits for a boy, and two outfits for a girl (one each in newborn size and 0-3 month size.)


I finished up the boy outfits and was completely in love with them!
 

From the get-go, I wanted to applique a tie onto a white shirt, which I was able to whip out quickly. 


The pants were a little trickier for me to settle on a design I liked.  Finally, I decided to use (Simplicity 5534 - out of print), except that I wanted a flat front.


I wasn't exactly sure how much to take out of the front pieces, so imagine my relief when Dana at Made posted a tutorial for flat front pants during her Celebrate the Boy!!  I still used (Simplicity 5534), but I altered the front pieces the same way Dana altered hers for the flat look.

So, the pants for my baby boy are brown corduroy with a flat front . . .

and an elastic back!

Tuesday, March 8, 2011

reach for the sunshine quilt

I haven't died . . . and I haven't had my baby, yet.  (Just over 2 weeks left.)  I told you I have gotten into a non-crafting funk, so the posting would be sparse--turns out, I really meant that posting would be almost non-existent.

I'm very excited about this craft, though.  One of my friends is having her first baby girl after three little boys, so I was very excited to make this little quilt for her.


I've had the pattern from You Can Make This for a while, but hadn't had the time, energy, or opportunity to make it, yet.  Now that I've made it, let me tell you, JesseKate Designs made it super easy!!


I think this little guy is just adorable.


This was my first attempt at embroidery, and I'm pretty happy with how it came out, although I now understand the importance of an embroidery loop.


I planned a lot more time for this project than I needed, so I decided to hand quilt it.  I love the look of a hand quilted blanket!

I'm pleased to report that my sweet husband didn't want me to give it away at first because he thinks it's the cutest baby quilt I've made yet, and wanted to keep it for our baby (which we still don't know the gender on, by the way,) just in case it's a girl.

It really was quicker and easier than it looks, and I promised to make another one after the baby, if he really wants . . . and finally I was able to pry it from his hands.

Obviously, this quilt would look adorable in blues and greens for a boy, or yellows and oranges for a gender-neutral look.  I can't wait to make it again!

Monday, February 14, 2011

redecorated chocolate boxes

I have been in a non-crafting funk lately, so I apologize for the lack of posts!


Today, I just wanted to show you something I did a couple of weeks ago because I was bored and I thought this would look cuter . . . and isn't that why we all craft anyway--to make things prettier?

I bought the kids each one of those little 5-piece boxes of chocolates and decided that I didn't like the pictures on the cover, so I mod podged a cute piece of scrapbook paper over them, and now I like them much better.


As you can see the few crafts I have been working on lately are super low-key, so I wouldn't get your hopes up for anything amazing over the next few weeks (although I have a few things on my to-do list before the baby comes that should be cute.)

Wish me luck!  (Roughly 5 weeks until baby #5 makes its debut!!)

Monday, January 24, 2011

flannel baby blankie

Each of my kids has had several blankets, but the ones they end up attaching to that then become their "blankies," are the flannel, crocheted-edge ones.  I cannot refuse to do the edging because I hate to crochet, but luckily, I have an uber-talented sister who loves me enough to edge blankies for me!--I honestly can't figure out how anyone can enjoy crochet.  It's time-consuming, and by the end of a row, my hand is usually cramped and looking like the claws you find on the ugly old woman version of the queen in snow white.

With the new little one joining us in about two months, it is time to make a few new blankies.  We don't know the gender of this baby (it's most likely our last baby, and we wanted a surprise,) so there is one for a boy, and one for a girl.  I'll give the other one away as a baby shower gift.

I thought it might be fun to give you a step-by-step tutorial for my version of these easy little blankets.

First, you'll need 1 yard each of two coordinating flannel fabrics.  Wash and dry them.


 2.  Next, you'll need to iron each piece.


3.  Lay your two pieces on top of one another, wrong sides together, matching up two edges.  Brush your hands along the fabric, starting at the corner you lined up and working your way out to make the two pieces of flannel "stick" to one another.


4. Now, you want to trim your edges so that they are straight and even.


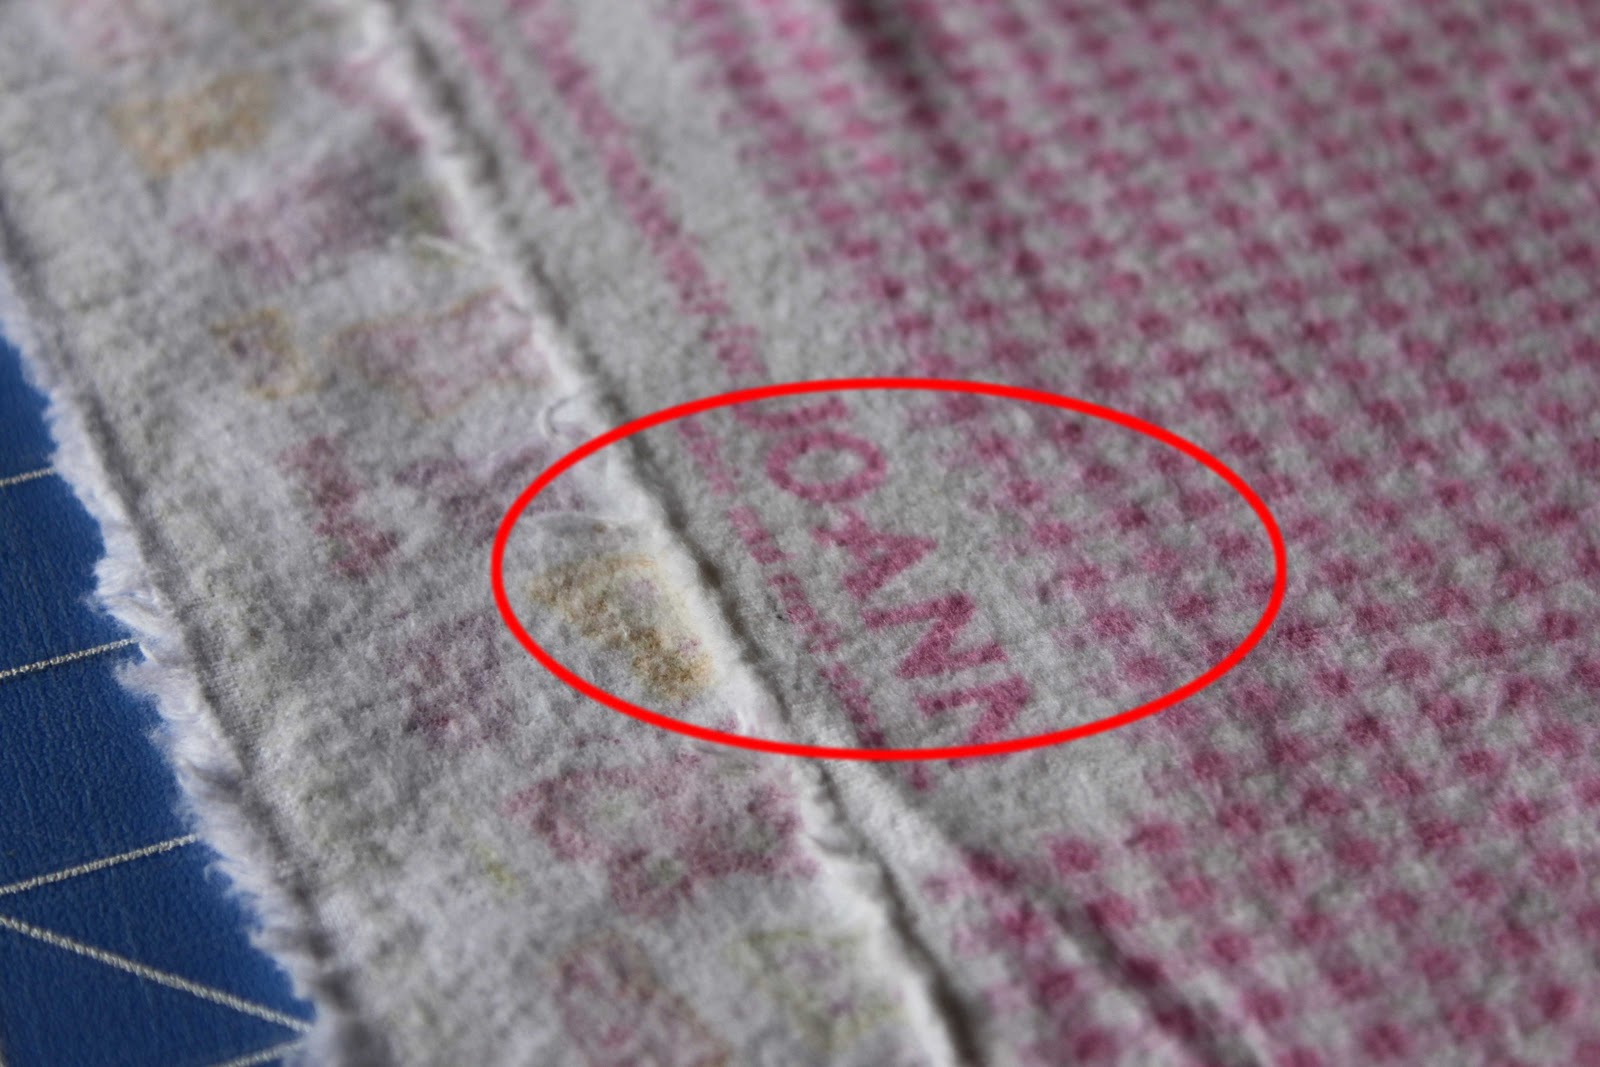
**One of my pet peeves is when stores have this printed on the edge:**
It forces me to cut an extra 1 1/2 inches off because I don't want their name on the edge of my baby's blanket!  (scowl)


When you're finished trimming, you should have 4 edges lined up perfectly.


5.  Next, I pin (about 10 inches apart) my fabrics together.  I do this because it bothers me when they shift after being washed several times and there is an edge with a fold in it because one fabric is slightly bigger than the other.  I like to machine quilt the blanket so that it all stays in place.


You can pin using any method you like.  You could measure to make your lines even.  I counted little squares for these blankets.  You could even free-hand it, if you're so bold, but I strongly recommend pinning before you start so that the pieces don't shift while you're sewing and create bunches and perma-wrinkles in your blanket.

6.  After pinning, sew your layers of flannel together.


7.  Next, I like to serge the edges to keep the flannel from fraying, and to give it a little more sturdy edge.


8.  The final step requires the use of a hemstitch needle.  (Shown below.)
 

Sew around the edge of the blanket, turning the blanket with the needle down at the corners.  I sew 3/8" (the first line) from the edge, but you could sew a closer or further from the edge, depending on how wide you want your crocheted border.
 These are the holes my sister will use to put on the crocheted border.

Viola!  Two blankets done in a matter of a few hours (minus the border.)

Linked to:
All Thingz Related
Show and Tell Green


CreativeShareWednesdays

Get your craft on Thurs.


Catch a Glimpse Button


giveaways
HookingupwithHoH