Showing posts with label birthday. Show all posts

Monday, June 6, 2011

make-your-own-costume kid craft

Today is trouble-maker #2's birthday.  He's 6, and he decided he wanted to have a costume party.

So we sent out the invites:
When each kid got there, besides the traditional party games, present opening, and cake & ice cream, we had a craft set up (the brain work behind which was mostly my husband's.)

We told each of the kids they could use whatever they wanted from the table to make themselves a *new* costume, and at the end of the time limit, Xavier, the birthday boy, picked the winner.  (He, of course, went the political route and declared them all the winners.)  :)


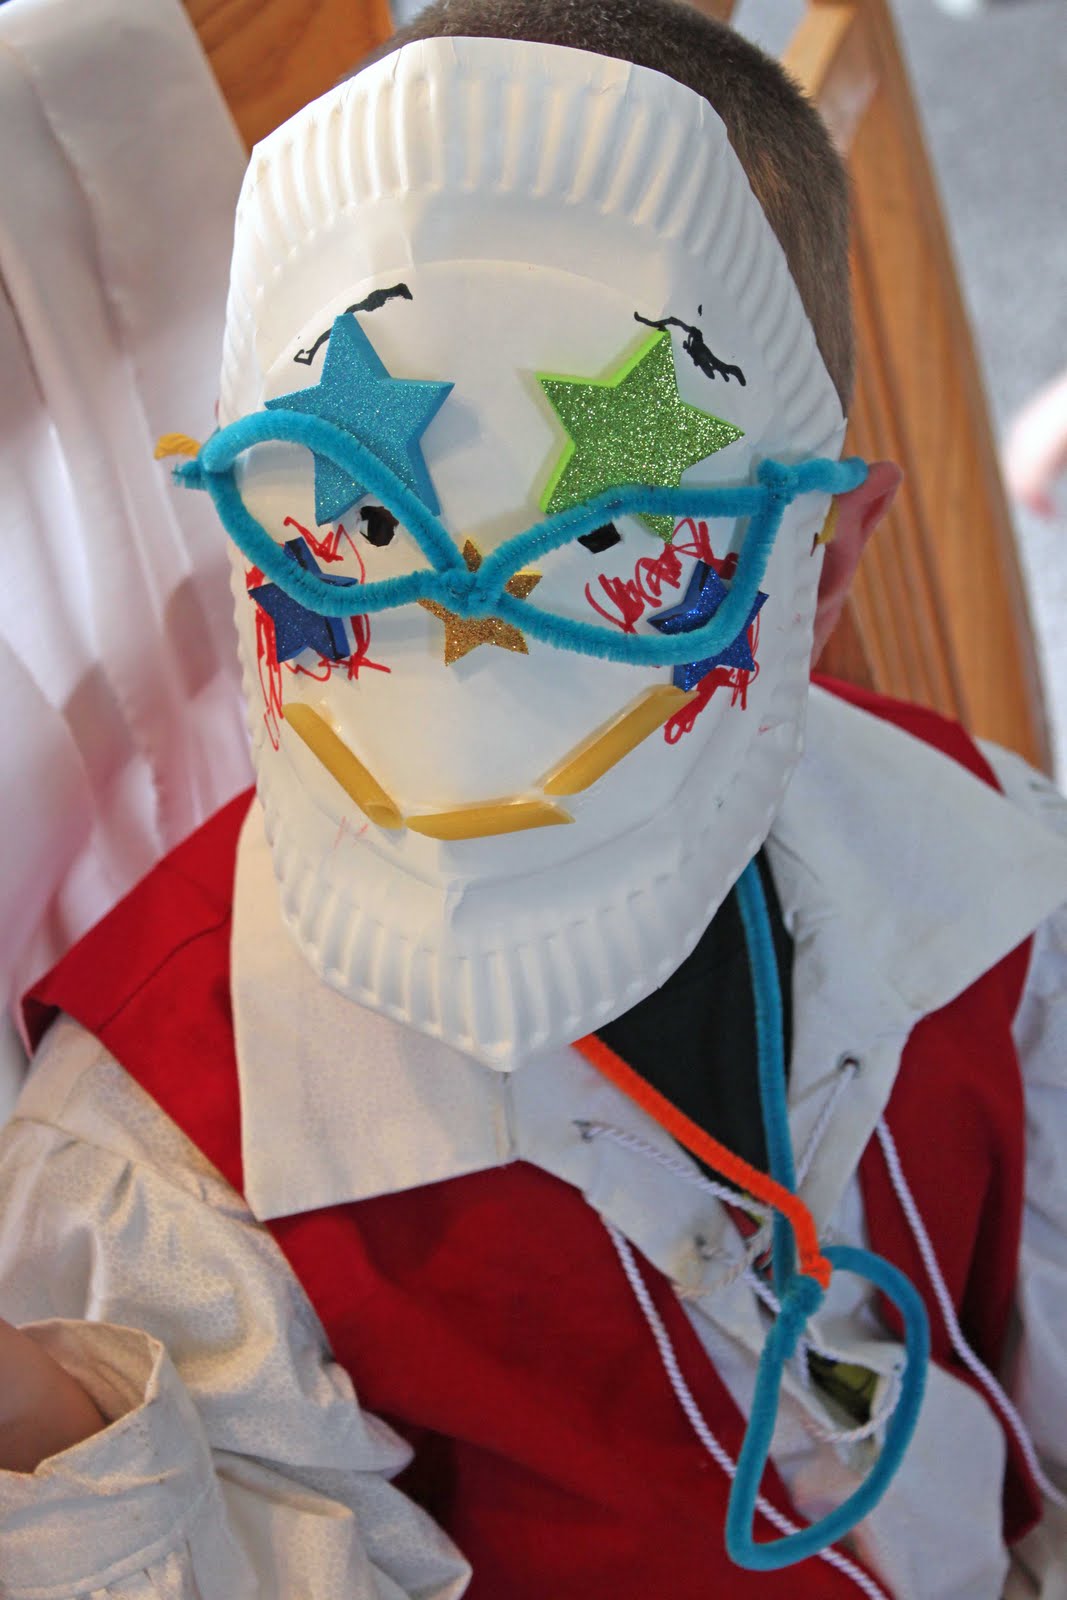
The items on the craft table included a 10" x 90" strip of fabric for each child, paper plates, regular printer paper, card stock paper, neon pipe cleaners, foam star stickers, yarn, ribbon, penne pasta, crayons, colored pencils, markers, glue, tape, hole punch, stapler, and scissors.


Here is what they came up with:  (sorry about the stars over some of their faces, but not all these little sweeties are mine, so you understand.)

A starry-eyed cowboy.
This little guy made a myriad of accessories, including a gun and a map.
A shield and a whip.
This is an owl with wings.
A necklace with "princess wings."
Even my husband got in on the fun with his goofy ears and funky nose.
the birthday boy!!

In my unbiased opinion, I think Xavier's was the best of them all!  Happy Birthday, buddy!

Tuesday, November 16, 2010

felt princess crown

The hit of Rora's birthday this year was the gift that took me 10 minutes to make!!

I made her a felt princess crown that she just loves.  She's worn it almost non-stop for the past 3 days.

I made up my own pattern for this (gasp--I know!) and threw it together very quickly.  So, if you want to make your own, here's how:

I didn't think about a tutorial for this because it was a last-minute idea, so I don't have many pictures, but I think it's easy enough to understand.  If not, I can whip up another one and post a tutorial.

First, I measured Rora's head: 19-1/2 inches.

Next, I began making my pattern by measuring 9" from one side to the other.  (The piece was cut on the fold, making the total length 18 inches.)


After measuring 9 inches, I created the shape I wanted with the highest point in the center, and a smaller point next to it, with the back just a basic strap.

I placed my pattern on the fold and cut one from each of two different colors of felt.

After that, I layed the pieces over the top of one another and sewed around the edges, as close to the edge as possible, leaving the back ends open.


The next step was to cut 2" of elastic for the back.  This will make it so the crown can grow with her a little bit. 

I inserted 1/4 inch of each end of the elastic into the end of the back of the crown and sewed it in place, leaving just less than 1-1/2 inches showing in the back.

The final touch was the diamond in the front of the crown, which I drew on with a pencil, stitched over my lines, and then carefully cut only the top layer of felt so that the under layer would show through.

And ta-da!  A crown fit for a princess.

This process could also be used in different shapes for a king, or a fun birthday crown.

Thursday, November 11, 2010

dana's 90 minute shirt

Besides sewing along with Jill, I have several projects in the works.

Rora's birthday is this Saturday, and she is in desperate need of some new clothes!  She outgrew all of her 3T clothes about a month ago, and I've been trying to stretch her out until her birthday.  My sister, Vivian is contributing to the new wardrobe, and I've been sewing like crazy with more projects on the way!

Yesterday, I made one of Dana's 90 Minute Shirts.  This being my very first one, it took me about 2 hours to complete (not including making the pattern.)

I loved how it turned out, but I think it might need some embellishing.


Now, back to my stack of sewing projects to outfit my little girl!

Friday, October 1, 2010

birthday fun!

Yesterday was two of my little troublemakers' birthday.  That's right--my oldest and my youngest were born on the same day, six years apart. 

You would think that with 365 days in a year, I would be able to give my kids each their own special day . . . nope!!

It's been a lot of fun so far because Samuel (my oldest) is so smitten with his baby brother, and Zoram (my youngest) is only 1.

We had a fun day yesterday, and there was not much money spent, so I thought I would share a few fun celebration ideas with you:

Balloons: roughly $2.00 per bag at Wal-Mart.

After Samuel, and his bunk-mate, Xavier were sound asleep the night before his birthday, I snuck into their room all Tooth Fairy-like and littered their floor with balloons, which I thought would be a really fun way to wake up in the morning.

Unfortunately, that "fun" waking-up happened at 5:30 in the morning when Xavier (who has a whisper that sounds like a Mack truck firing up on a cold winter morning,) saw the balloons first, and informed Samuel that it was his birthday!!  I had to go into their room and tell them to calm down and try to go back to sleep until 7 am, since they both had school in a few hours!


Still fun, but maybe not a good idea for light sleepers, or kids who go to the bathroom frequently at night.

Another fun idea I had was to decorate the ceiling with crepe paper!

My mother-in-law's 50th birthday party was a few weeks ago, and I used black crepe paper in lines stretching from one side of the room to the other, which created a kind of canopy.

This time, my husband thought it would be more fun if the lines were more random across the ceiling.  When I got done, he asked, "There now wasn't that easier, not having to be so exact?"

If you know anything about me, it's that I don't do random very well, so I found myself analyzing each piece wondering if I had too much yellow in one spot, or if there were too many blank spaces in one area of the room, etc.

And since my husband knows about most of my faults better than I do, I answered honestly, "No, it was definitely not easier this way."

He laughed, kissed my forehead, and thanked me for trying anyway. **gushing**

Isn't he great?
Samuel, on the other hand loved the effect, and felt very special.

Total cost: $3.75 at Wal-Mart

Finally, I won Mother of the Year award when I told Samuel I would bring his lunch to school later, and then showed up at his classroom as they were leaving for lunch with a McDonald's Happy Meal.  All his friends gasped with jealousy, he turned bright red, and I got a huge hug when he got home from school! (Cost $4.)

This all sounds like a lot of effort for one child, and no effort for the one-year-old, right?

Zoram couldn't have balloons in his room because he shares a room with troublemaker #3 (Rora) who loves to share fun things with Zoram by putting them into his crib for him.  A baby toddler sleeping with balloons in his crib didn't sound that safe to me, so we skipped that part and let him play with Samuel's balloons (supervised) while his older brothers were at school.

He could have cared less about the crepe-paper ceiling, but since he loves fries, and it was his birthday, I let him just eat McDonald's fries for lunch.

So, there are a few simple ideas costing around $10!!