Make these. You'll thank me.
When my sister was pregnant with her daughter, we had a baby shower for which I made these brownies. One of the guests took a bite of hers and declared, "Well, that right there is a little bit of heaven," and since then, that's always how I've thought of these brownies--a little bit of heaven.
They are brownie. They are chocolate. They are caramel. They are divine. Hungry yet?
Little Bit of Heaven Brownies:
 1 box chocolate cake mix (the recipe I have calls for German Chocolate, but any kind of chocolate will do.)
3/4 cup butter
2/3 cup evaporated milk
Approximately 50 caramels
1 cup chocolate chips (I like semi-sweet, but you can pick your favorite.)
1. Find a child with nothing to do. Enlist her help unwrapping all the caramels into a small sauce pan.

2. While the caramels are being unwrapped, place the butter in a medium-sized bowl and melt it in the microwave it. (You could of course use softened butter instead of melted, but that would require remembering to get the butter out ahead of time.)

3. Add 1/3 cup evaporated milk and the chocolate cake mix to the butter.


4. Mix together with a spoon.

5. Place half the batter in a 9x13 baking dish, which has been previously prepared either with butter and flour, or baking spray. Spread evenly along the bottom of the dish.


6. Bake batter in the dish at 350 degrees for approximately 7 minutes.

7. While the bottom half of the batter is baking, add 1/3 cup evaporated milk to the unwrapped caramels.

8. Heat caramels over medium heat until smooth (it will probably boil.)


9. When the bottom layer of brownie is out of the oven, sprinkle 1 cup chocolate chips on top, and then pour the melted caramel on top of those.

10. Spoon the remaining batter on top of the caramel.

11. Bake at 350 degrees for 15-18 minutes. When you pull it out, batter will still be a little wobbly, but don't worry about it.
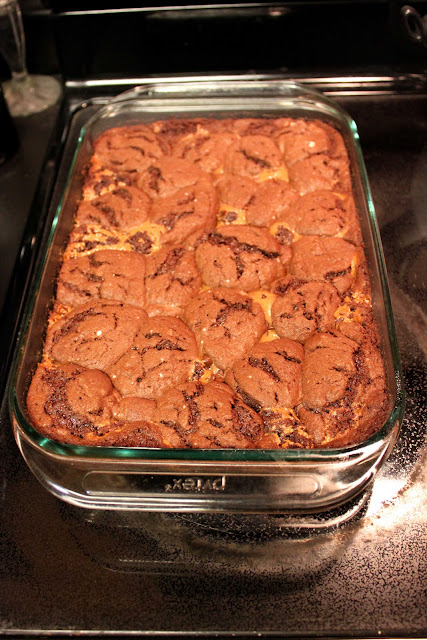
12. Refrigerate for 1 hour, during which time it will solidify.

Serve in small portions because this stuff is rich (and that will leave more for you!!)
Linked to:
When my sister was pregnant with her daughter, we had a baby shower for which I made these brownies. One of the guests took a bite of hers and declared, "Well, that right there is a little bit of heaven," and since then, that's always how I've thought of these brownies--a little bit of heaven.
They are brownie. They are chocolate. They are caramel. They are divine. Hungry yet?
Little Bit of Heaven Brownies:

3/4 cup butter
2/3 cup evaporated milk
Approximately 50 caramels
1 cup chocolate chips (I like semi-sweet, but you can pick your favorite.)
1. Find a child with nothing to do. Enlist her help unwrapping all the caramels into a small sauce pan.

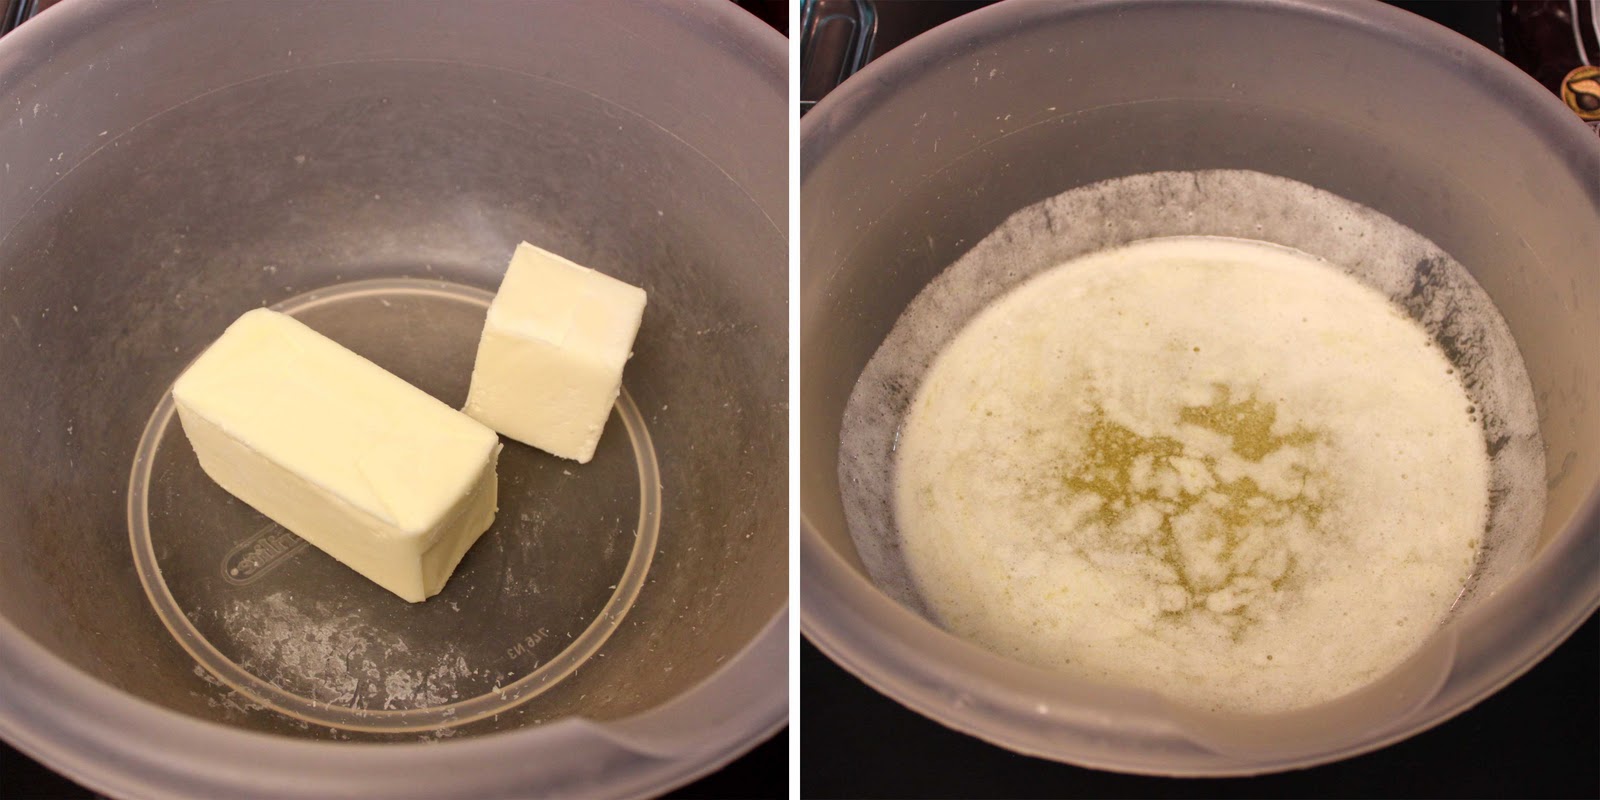
2. While the caramels are being unwrapped, place the butter in a medium-sized bowl and melt it in the microwave it. (You could of course use softened butter instead of melted, but that would require remembering to get the butter out ahead of time.)
3. Add 1/3 cup evaporated milk and the chocolate cake mix to the butter.


4. Mix together with a spoon.

5. Place half the batter in a 9x13 baking dish, which has been previously prepared either with butter and flour, or baking spray. Spread evenly along the bottom of the dish.


6. Bake batter in the dish at 350 degrees for approximately 7 minutes.

7. While the bottom half of the batter is baking, add 1/3 cup evaporated milk to the unwrapped caramels.

8. Heat caramels over medium heat until smooth (it will probably boil.)


9. When the bottom layer of brownie is out of the oven, sprinkle 1 cup chocolate chips on top, and then pour the melted caramel on top of those.


11. Bake at 350 degrees for 15-18 minutes. When you pull it out, batter will still be a little wobbly, but don't worry about it.

12. Refrigerate for 1 hour, during which time it will solidify.

Serve in small portions because this stuff is rich (and that will leave more for you!!)
Linked to: