
Start with a 5/8" seam (unless otherwise specified by the pattern,) right sides of the fabric together. Backstitch at the top and bottom, and use the longest stitch your sewing machine has.

Next, iron the seam open.

Lay the fabric flat, with the seam side up.

Lay the zipper on top of the seam, pull side down.
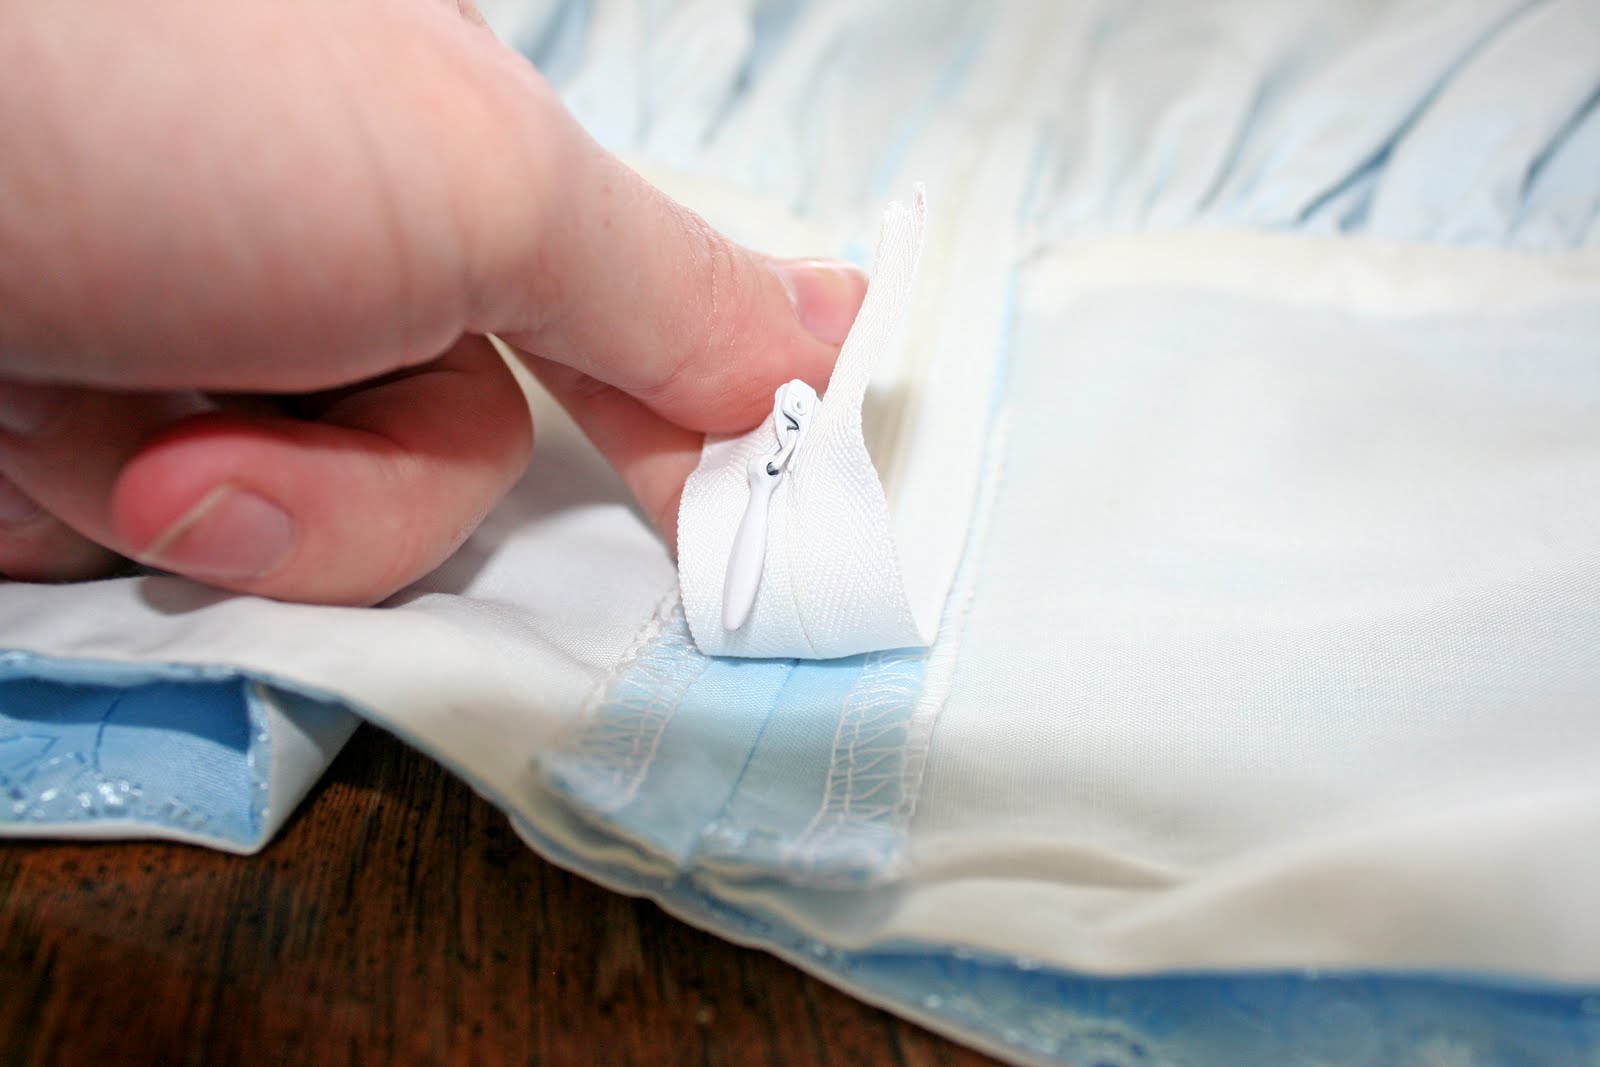
I like to fold the ends of my zipper so they are flush with the top of the fabric, which eliminates the need for a hook and eye, but they can be layed flat, if you prefer. (**Be careful with this. The garment I am sewing is already finished across the top. If I were applying the zipper before finishing the top, I would want to shift the zipper down to leave room on top for the seam.**)

Beginning at the top of the zipper, make sure the center of the zipper is lined up with the center of your seam, and pin on both sides. Make sure that the pins on one side are pointing the opposite direction of the pins on the other side.


Pin approximately every 2 inches, lining up the centers all the way down.

Often, the zipper you have will the longer than the length of the space the pattern wants to use for a zipper. Mark the end of the zipper seam (where you backstitched) with a pin running across the zipper.
When you finish, your pins should look like this. The reason for having them all point a specific direction is for ease while sewing. If all the pins are in the zipper with the head toward you, they are easier to pull out than if you had to try to pull them out toward your pressure foot on the sewing machine. (If your pins are pointing exactly the opposite direction from mine, don't worry, I'll address that further down.)

Now that you have pinned the zipper on, take a look at the back side because you will hopefully be sewing exactly what you pinned, so if there is a fold or pucker in the fabric, you'll want to fix that now rather than having to unpick it and re-sew later!

Most zipper foots have two sides to them. If you pinned your zipper the way I did, you’ll want to put the latch on the left side of the zipper foot (as shown.) If your pins are pointed exactly the opposite of mine, you’ll want to place the latch on the right side of your zipper foot.

(**At this point, if I’m working with a garment that is mostly finished, I like to flip it so that the zipper is on the inside, rather than the outside to help avoid catching other parts of the garment in the zipper. If you’re working with only the two pieces of fabric that the zipper is attached to, then you won’t have to worry as much because they should lay fairly flat.**)
With the zipper pull away from you, insert the top of the zipper under the pressure foot. Line the left side of the pressure foot up with the edge of the zipper pull and begin sewing (don’t forget to backstitch!!) The top can the tricky because of the zipper pull, so I usually turn the wheel by hand until I have gotten past it.
Once past the zipper pull, line the edge of the pressure foot up with the teeth of the zipper. (**I prefer to use invisible zippers because the teeth are on the back side of the zipper, but if you’re using a regular zipper, just line the edge of the pressure foot up with the edge of the teeth that you can feel on the other side.**) Sew down the entire length of the zipper, pulling pins as you go, and checking periodically to make sure you don’t have any folds or puckers behind your zipper.


When you reach the cross pin at the bottom of the zipper, put the needle down, turn the project and sew across the zipper, turning the wheel by hand. Backstitch the entire width of the zipper, and go across again, all by turning the wheel with your hand.

With the needle down again, turn the project so that you can sew back up the other side of the zipper. Sew, while pulling pins, and checking for folds and puckers in the fabric.

When you get to the top of the zipper, carefully maneuver around the zipper pull. Backstitch at the end of your stitching line, and remove the garment from the sewing machine.
If you need to, turn the garment right-side-out.
Look at your amazing zipper!!

Trim the unused end of the zipper.


Starting at the top, insert a seam ripper a few stitches down and break through them. Work your way down the zipper, breaking only a few stitches at a time. (**It is possible to just point the seam ripper down the zipper and RRIIIPPP, but you’re more likely to accidentally tear a hole in the fabric next to the zipper.**)

If everything went smoothly, you should now have a beautiful, functional zipper. Whew!!
